 |
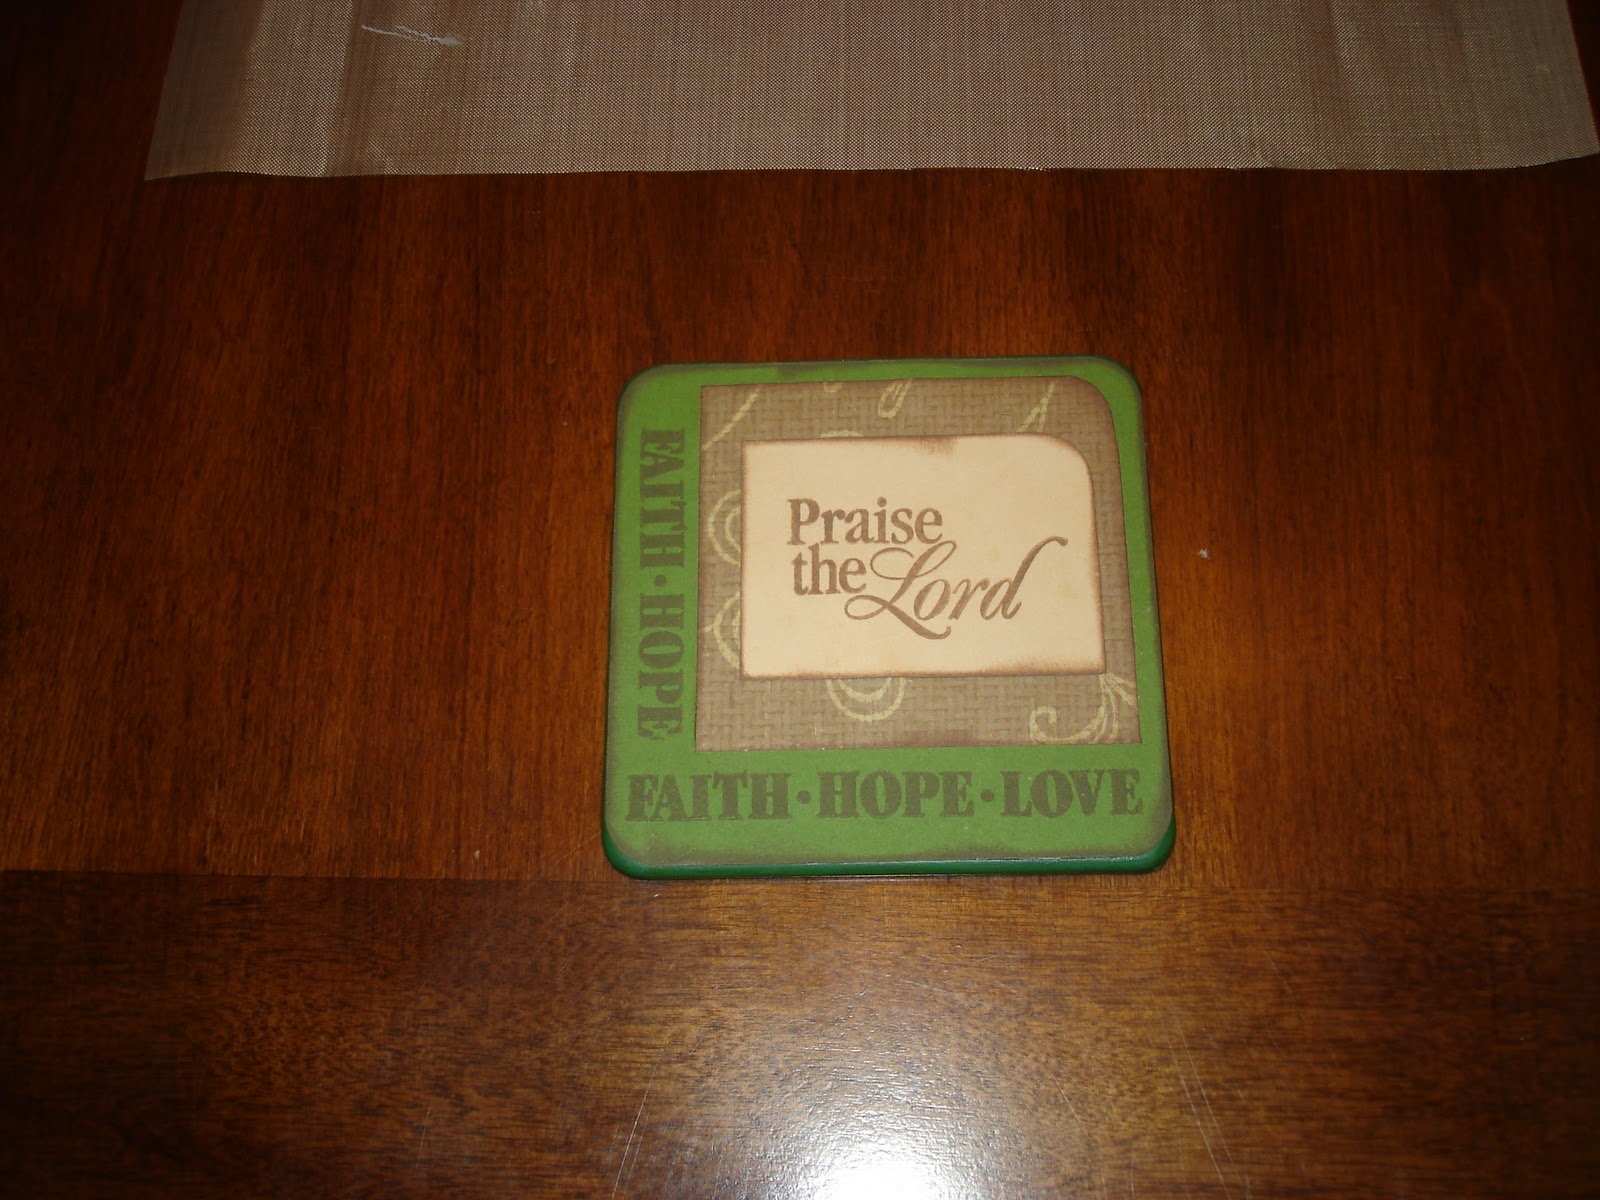
| My Finished Altered Coasters |
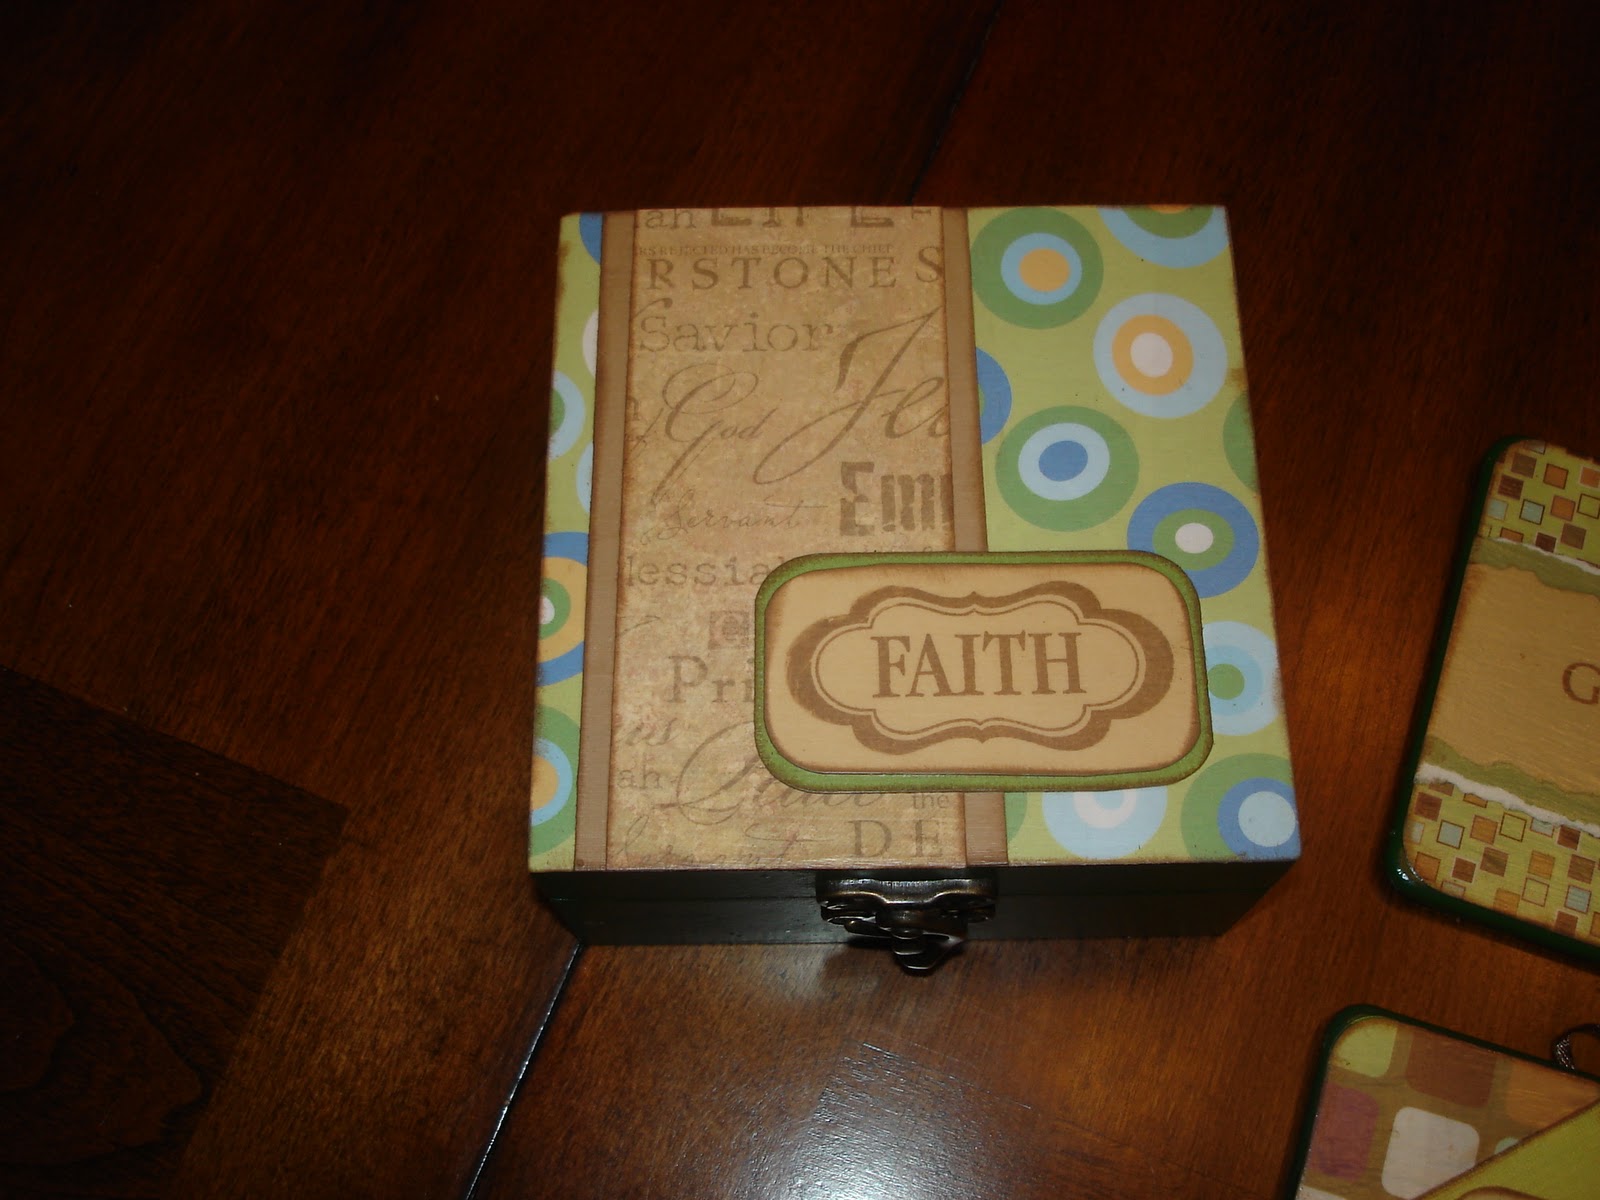
I found these (look below) green and red Joy Christmas boxes that hold 4 Christmas coaster at Hobby Lobby. The box and coasters original price was $14.99. On the back of the coasters it says “Only for decorative purpose. Do not contact with food directly”. Not a good deal. Why would you pay $14.99 for coasters that you can’t use? Well to my luck they were on sell 90% off. That’s not a typo. I only paid 10% of the original price; I paid $1.49 for the set. So I bought 8 sets!!!!
This is another fast and easy project. I did not buy anything for this project except the Christmas box set itself and the cork board to go on the back.
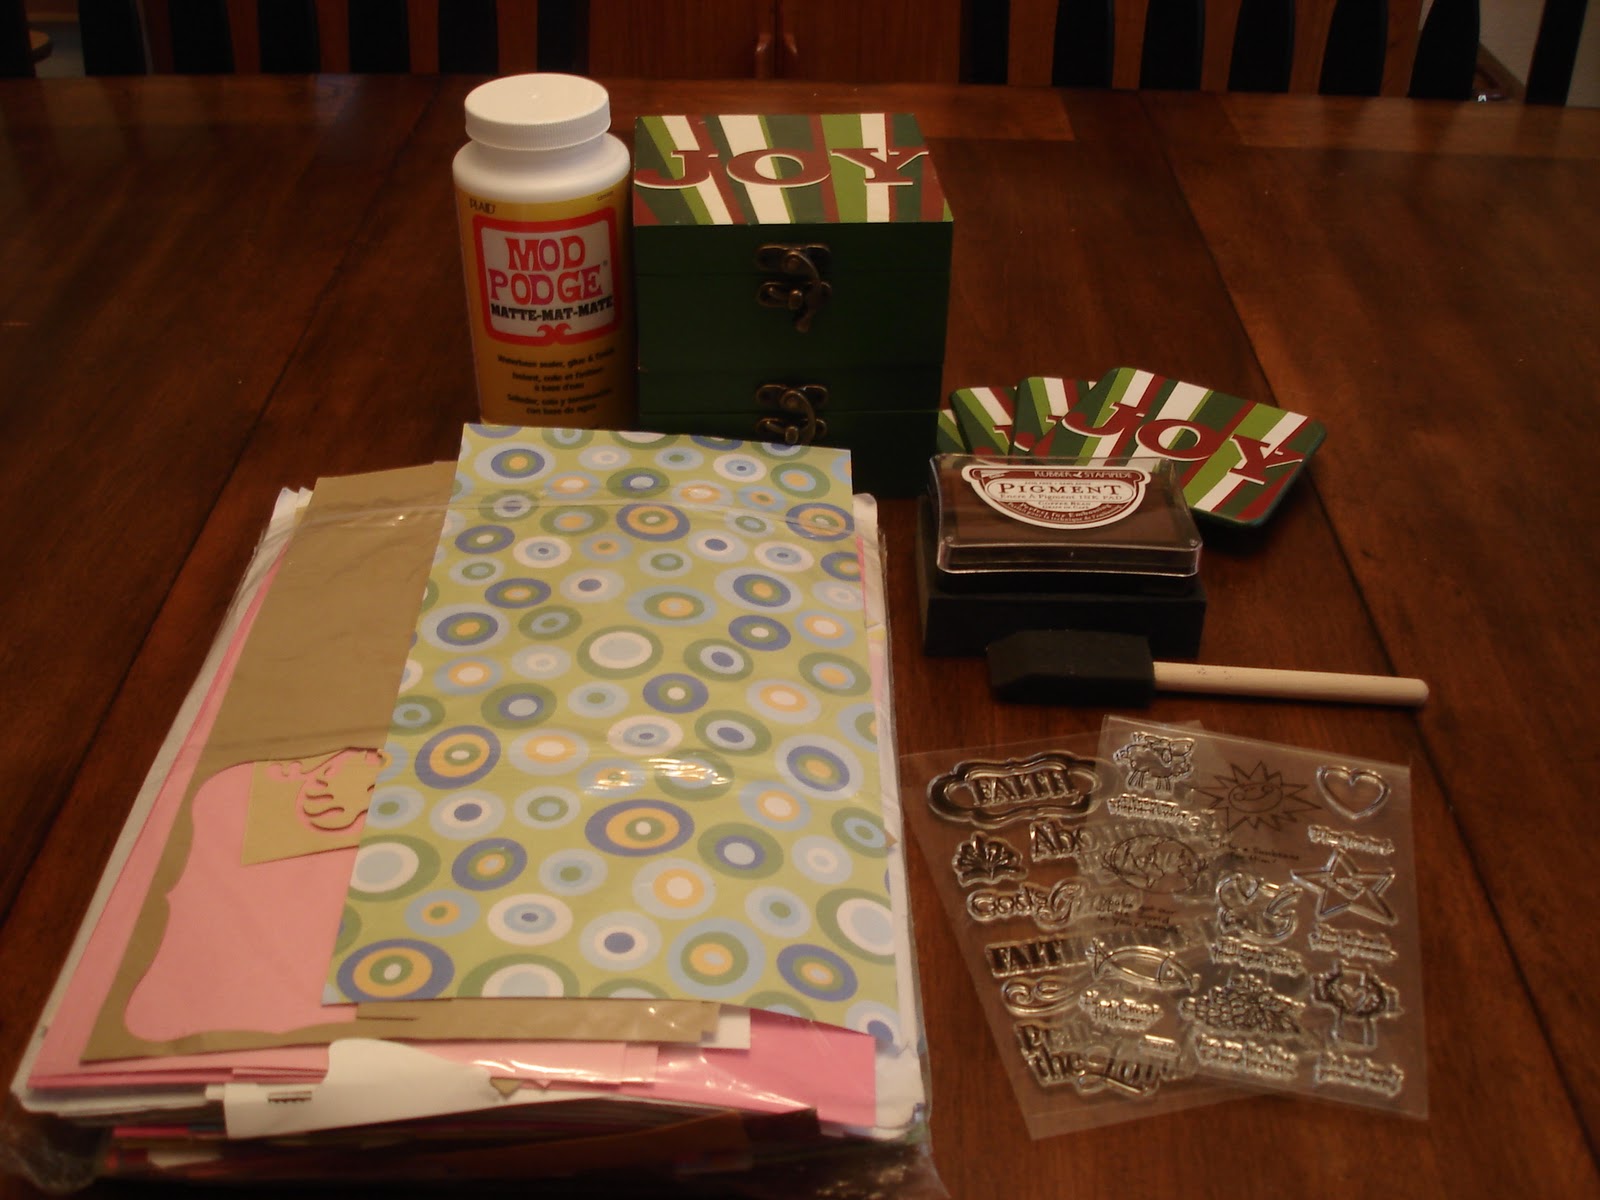
Here are the supplies you will need:
Scrap pieces of pretty paper
Stamp pad in a color of your choice (I used brown)
Stamps of your choice
Mod Podge ( I used Matte Mod Podge in this project)
Foam brush
Coordinating ribbon (optional)
Cork backing
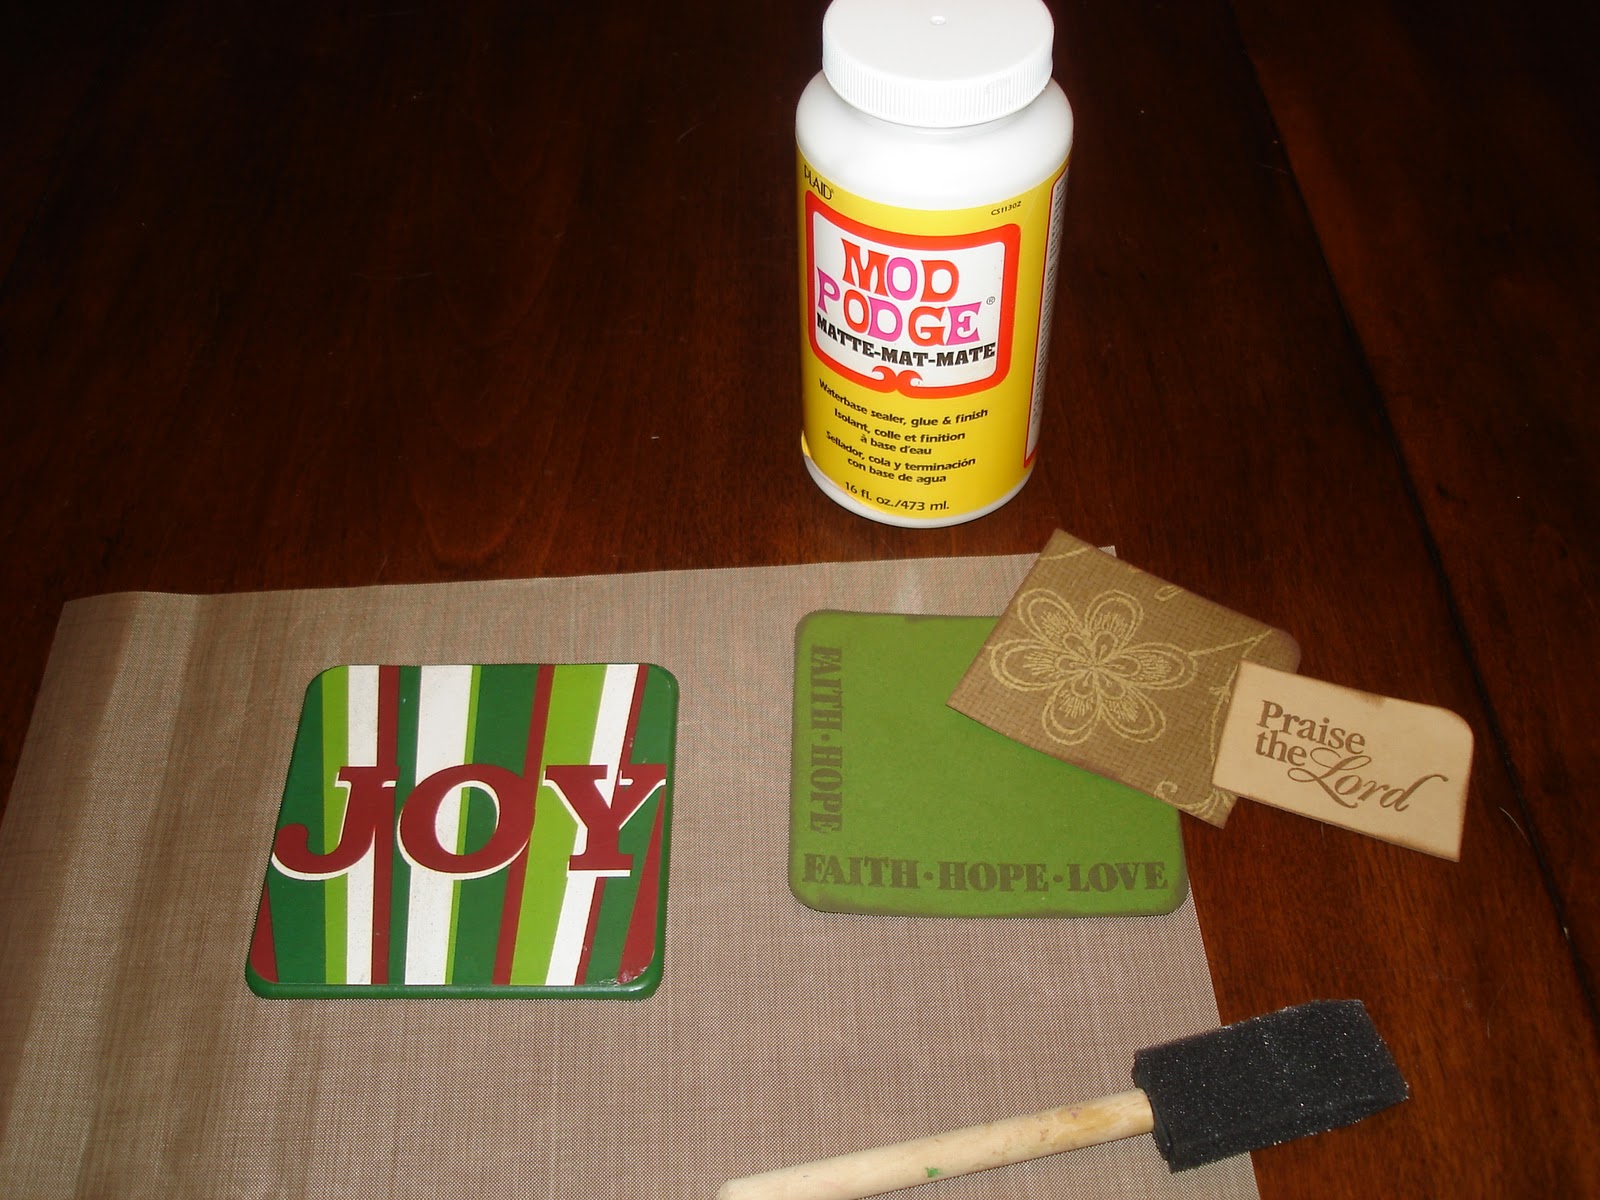
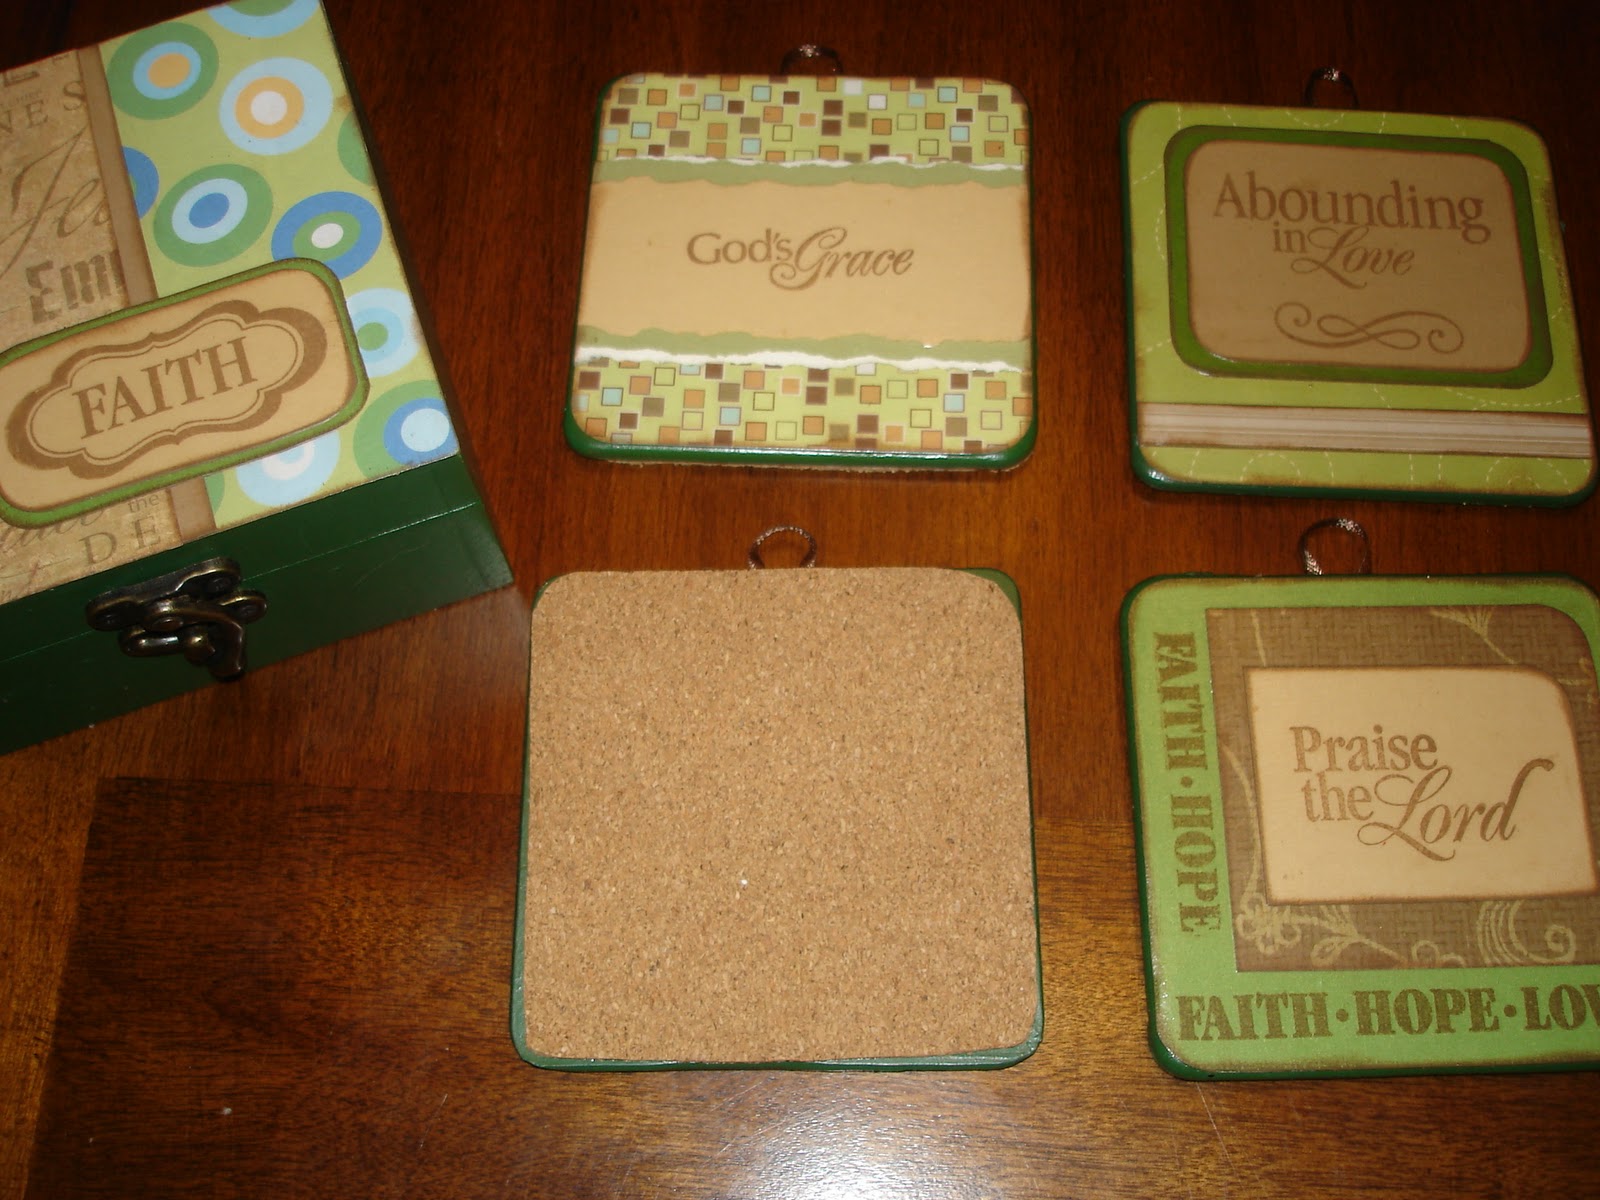
Step 1: You need to decide on the layouts for the tops of the coasters. I cut and stamped a base piece of paper to cover the original Joy Christmas paper that was on the coaster. I used green paper to coordinate with the green backs of the coaster. I loved the look of the outside of the original box and do not want to have to repaint the box and coasters.
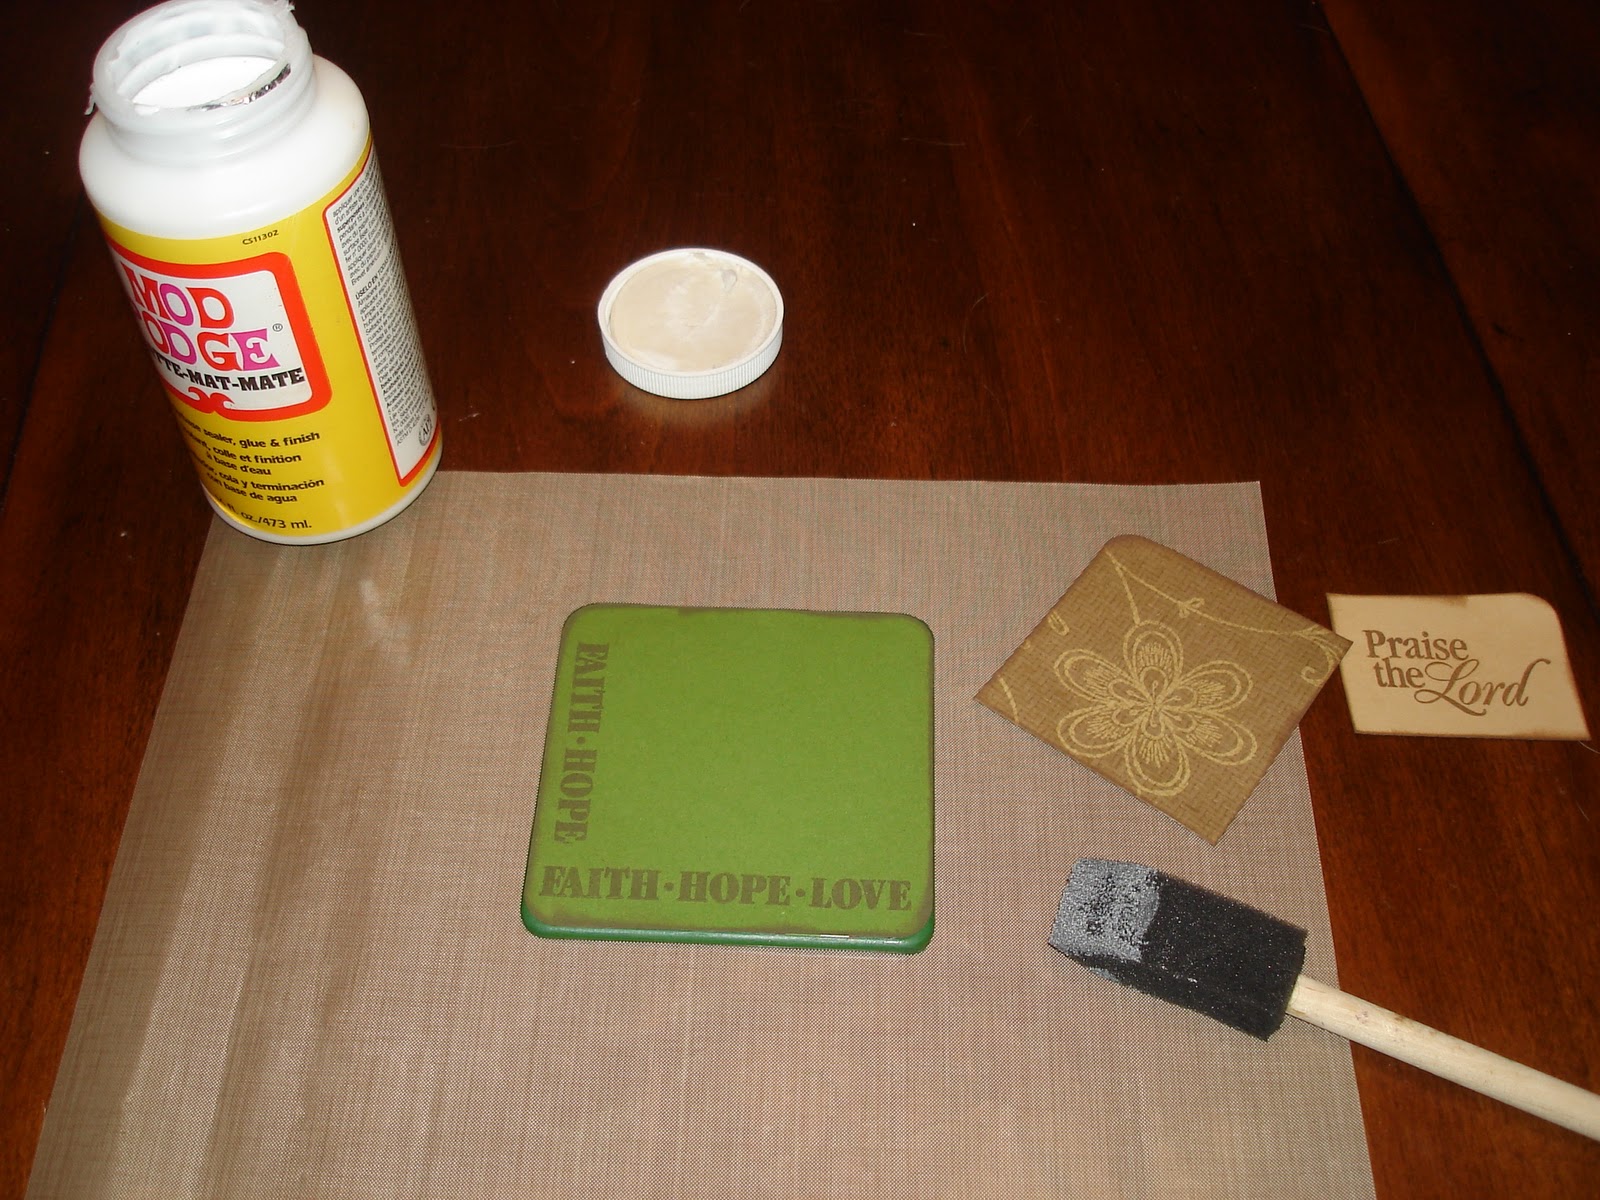
Step 2: Cut and stamped two more pieces of paper for a total of three coordinating layers of paper to give the coaster a nice look. You do not want too many layers because you want your finished coaster to be able to be used.
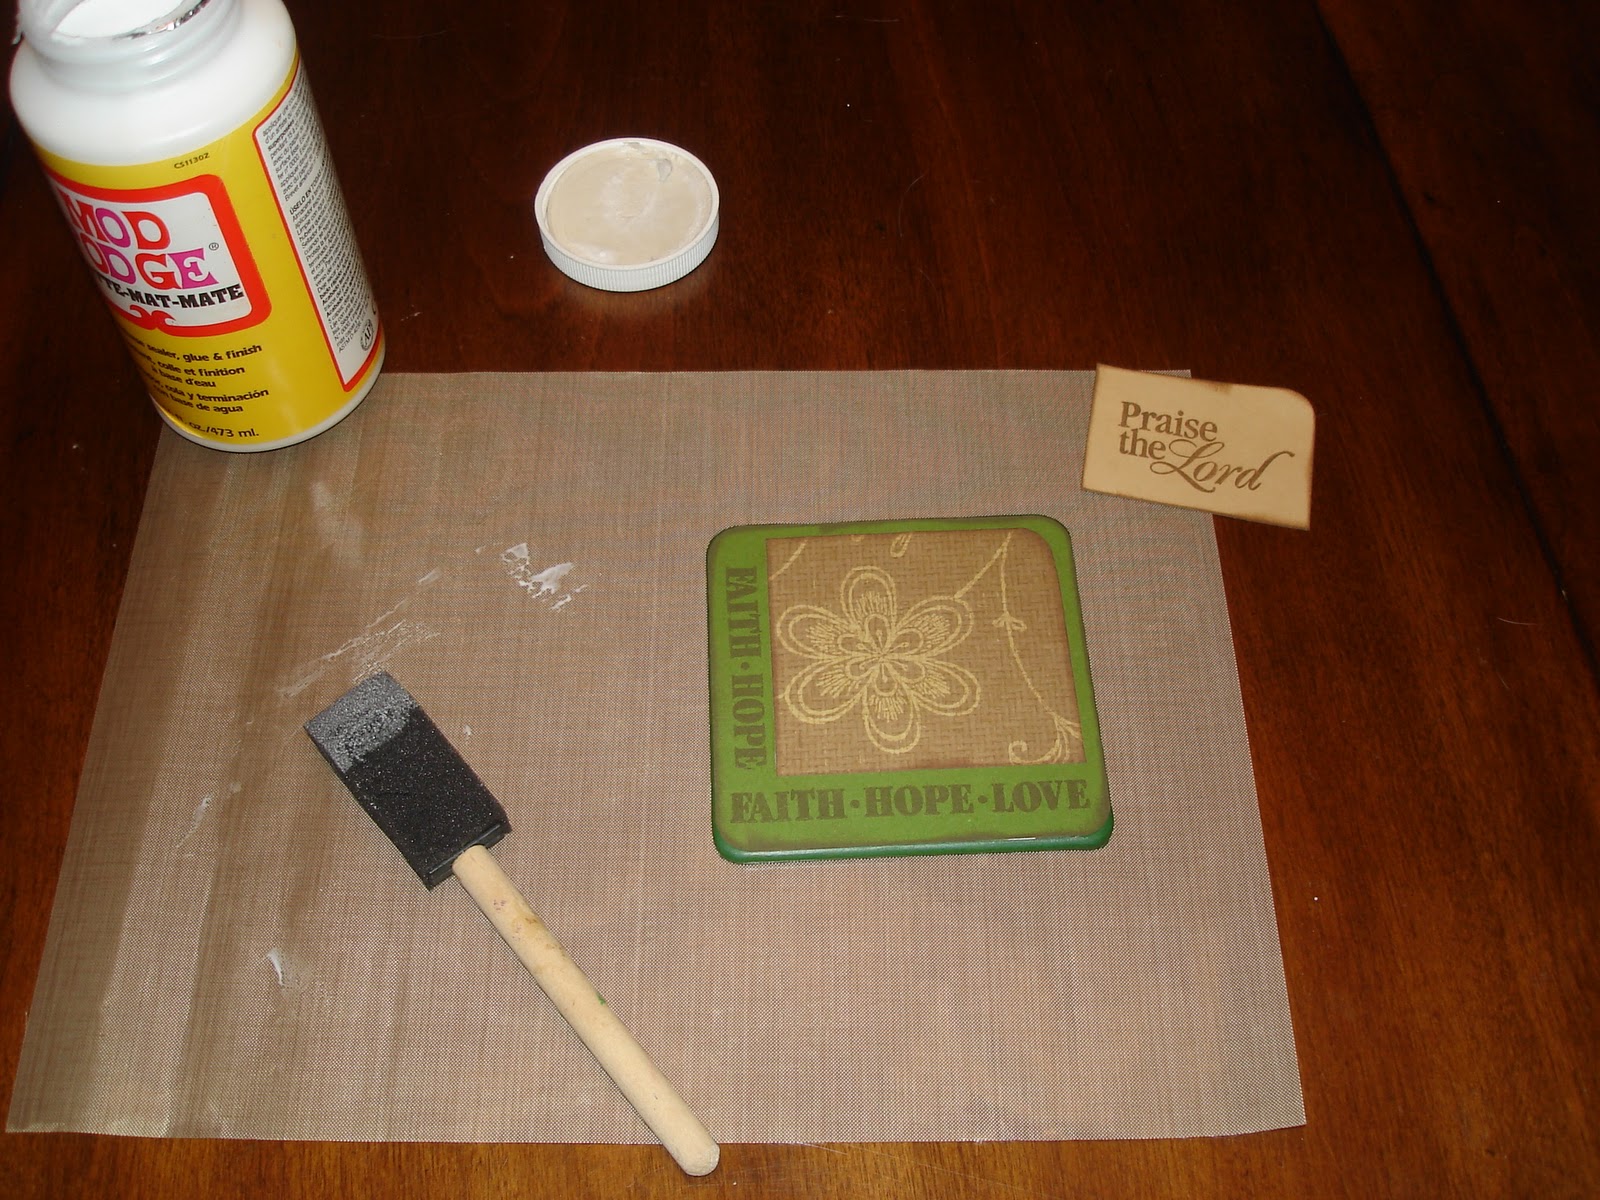
Step 3: Apply a thin layer of Mod Podge on the top of the coaster, making sure that all the edges are covered. Then carefully place your first layer on top of the coaster and press down firmly, smoothing out any air bubbles and making sure all edges are secure, let it dry for 15 minutes and repeat for the next two layers. Do not Mod Podge the top of the last layer yet! Repeat for all remaining coasters and let dry completely before proceeding to the next step.
Step 4. Now, apply the Mod Podge to the top of the last layer. This will seal and help make the coasters water resistant. You will need to apply multiple coats and allow for drying time between.
Once your final coat is dry you are almost done! I added a small ribbon loop to the top of each of the coasters incase the recipient wanted to hang them up like little plaques. Lastly, I attached the cork backing to protect any furniture the coasters might be laid upon. Now, these beautiful, useful, custom coasters would make a wonderful addition to any coffee table or wall. I would love to see your finished project if you decide to try these for yourself!
Oh man, I forgot to mention that I did this same process for the top of the box as well. What a difference!!!


No comments:
Post a Comment