


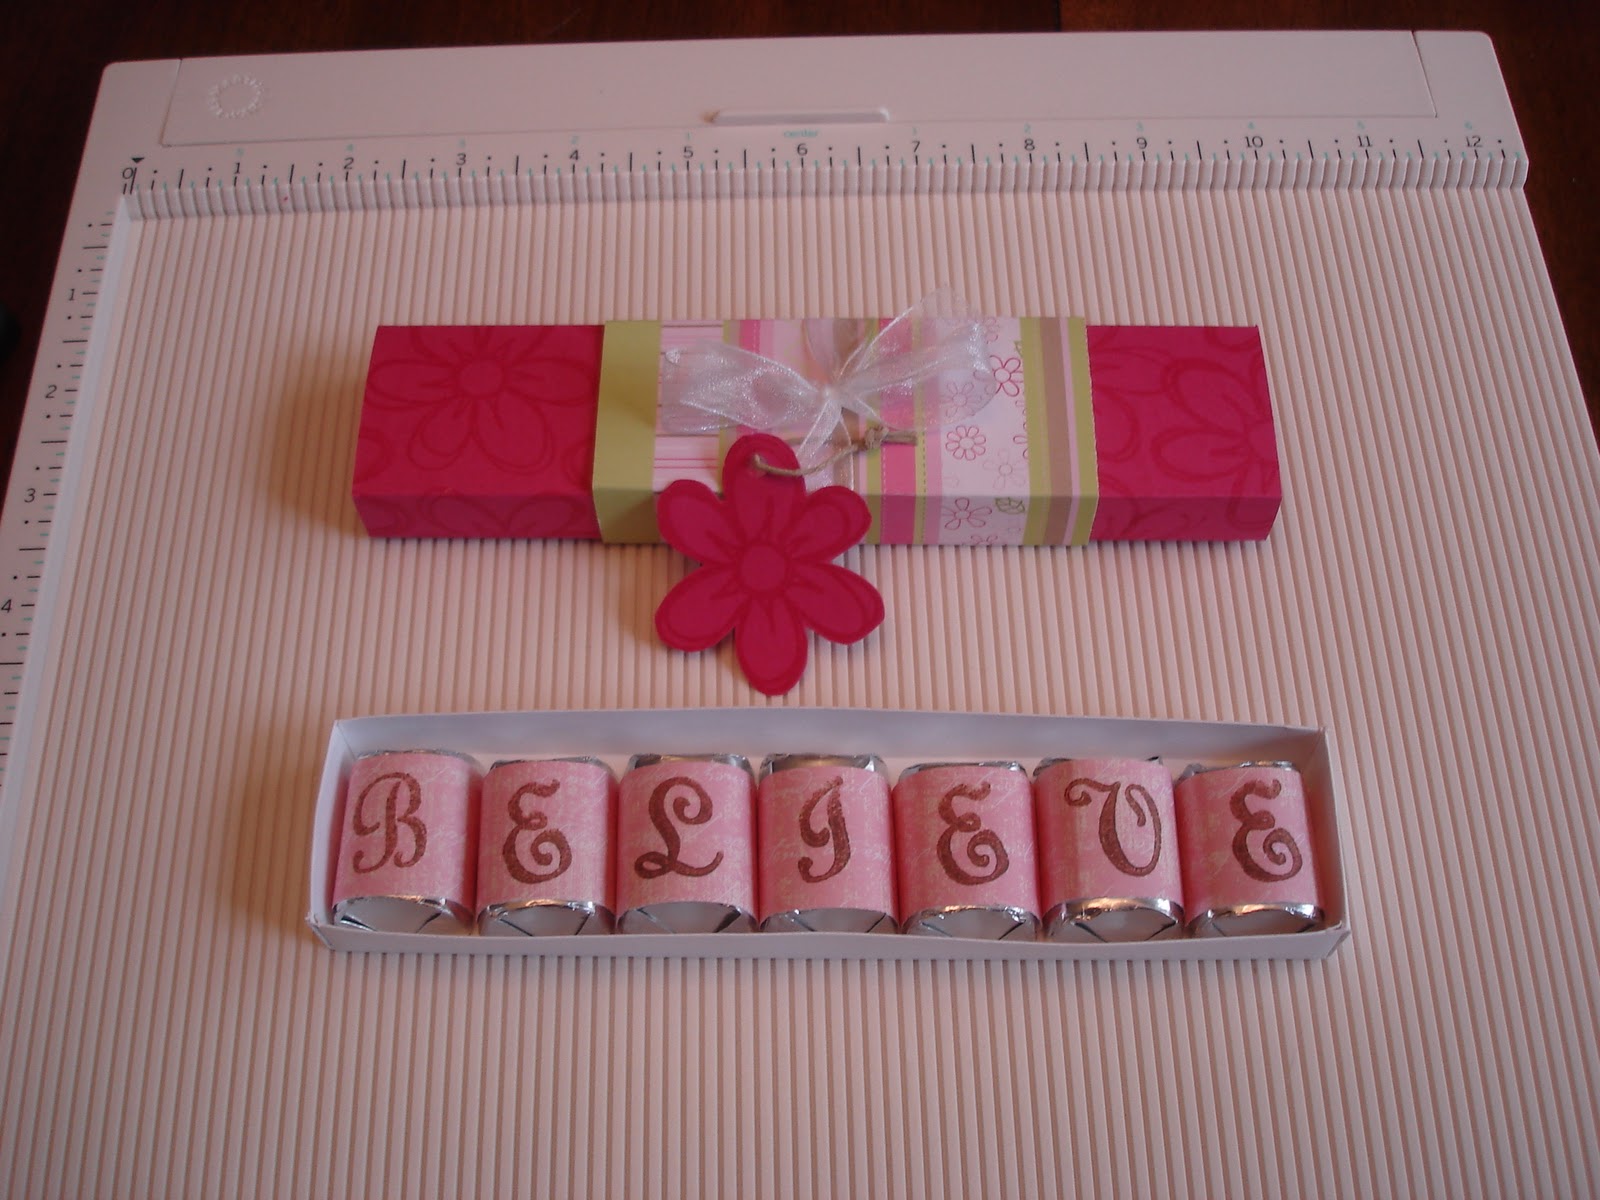
Hershey nuggets are small study brick shaped chocolates. Their size and thickness makes them easy to wrap and decorate. When I made this one I had Easter in mind.
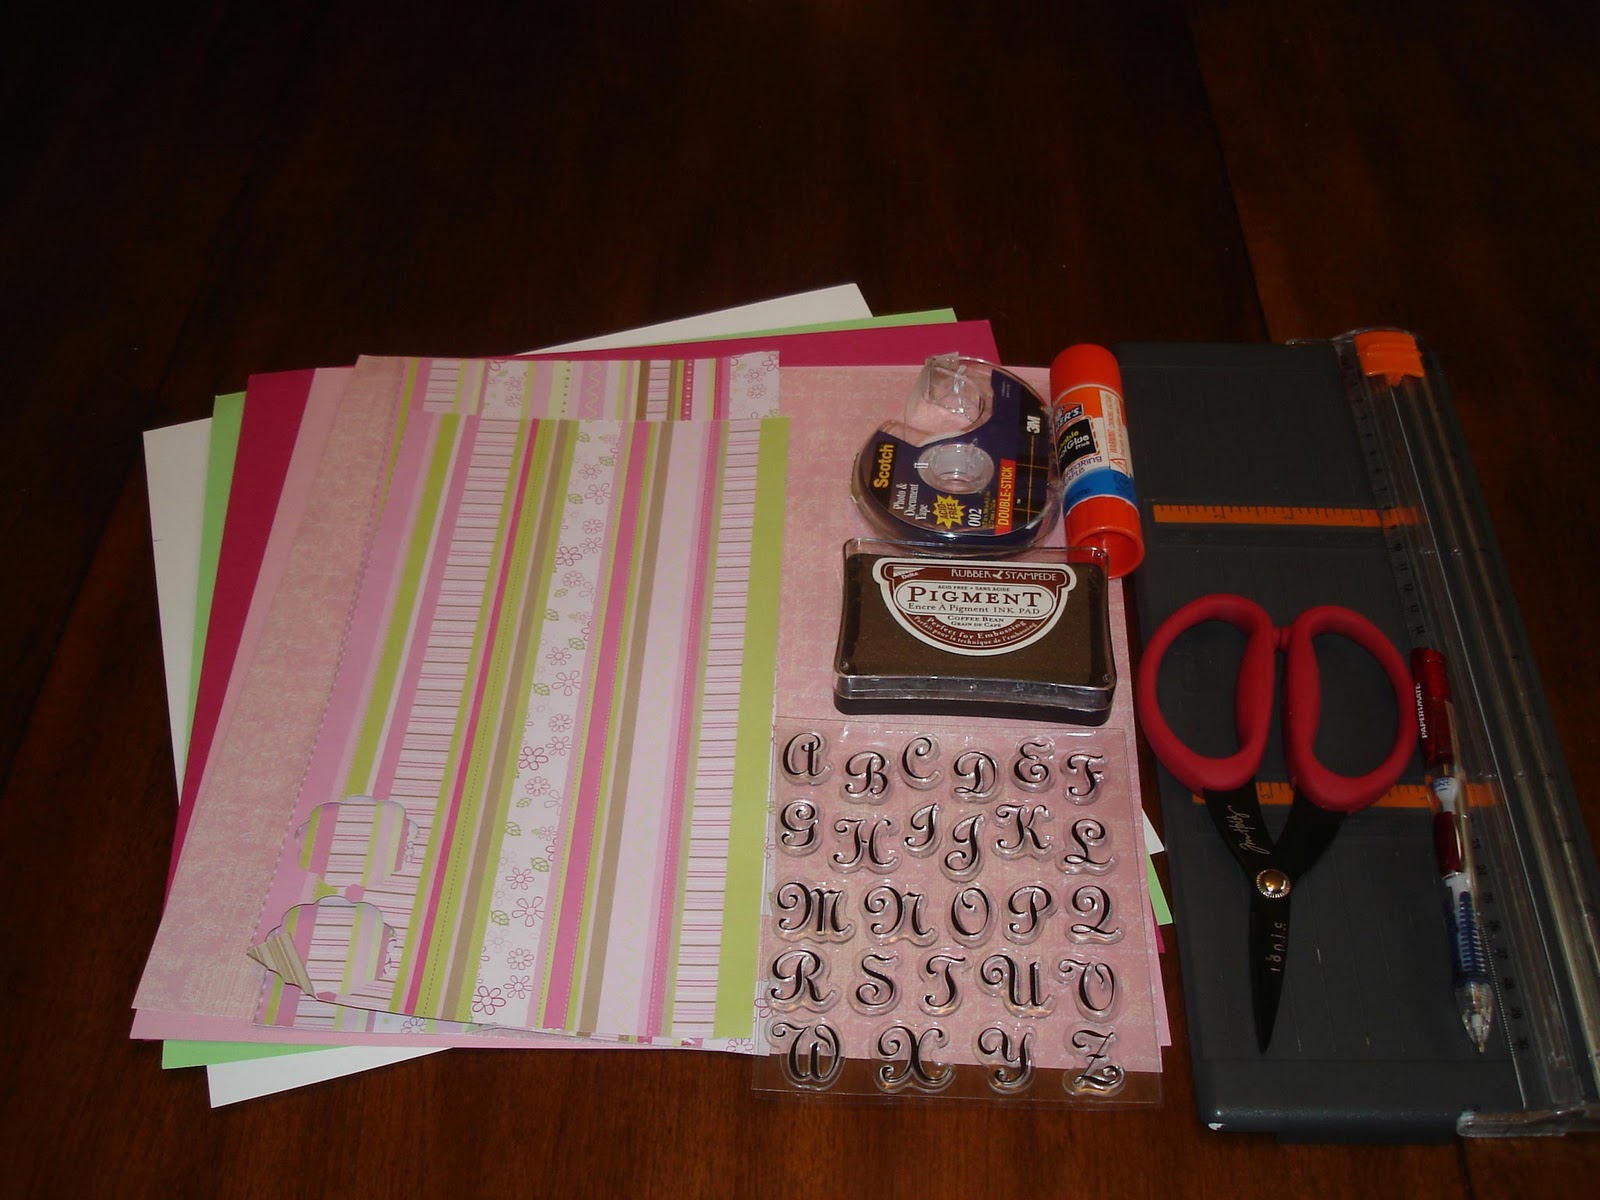
Here is a list of supplies:
Stamp pad in colors of your choice.
Letter stamps
Scissors and paper trimmer
Glue stick, tape or any other adhesive
Paper
and Hershey Nuggets
I used white cardstock for the bottom of the box. A solid colored cardstock for the lid and scrap paper for the wrapping of the lid and nuggets.
Special Notes…
I have attached a pdf with templates for the Box Base, Box Lid, Decorative Wrap and Candy Wraps here. When you go to print the template make share to go into your print options and set the page scaling to “none”. This will insure that your templates printout in the correct size.
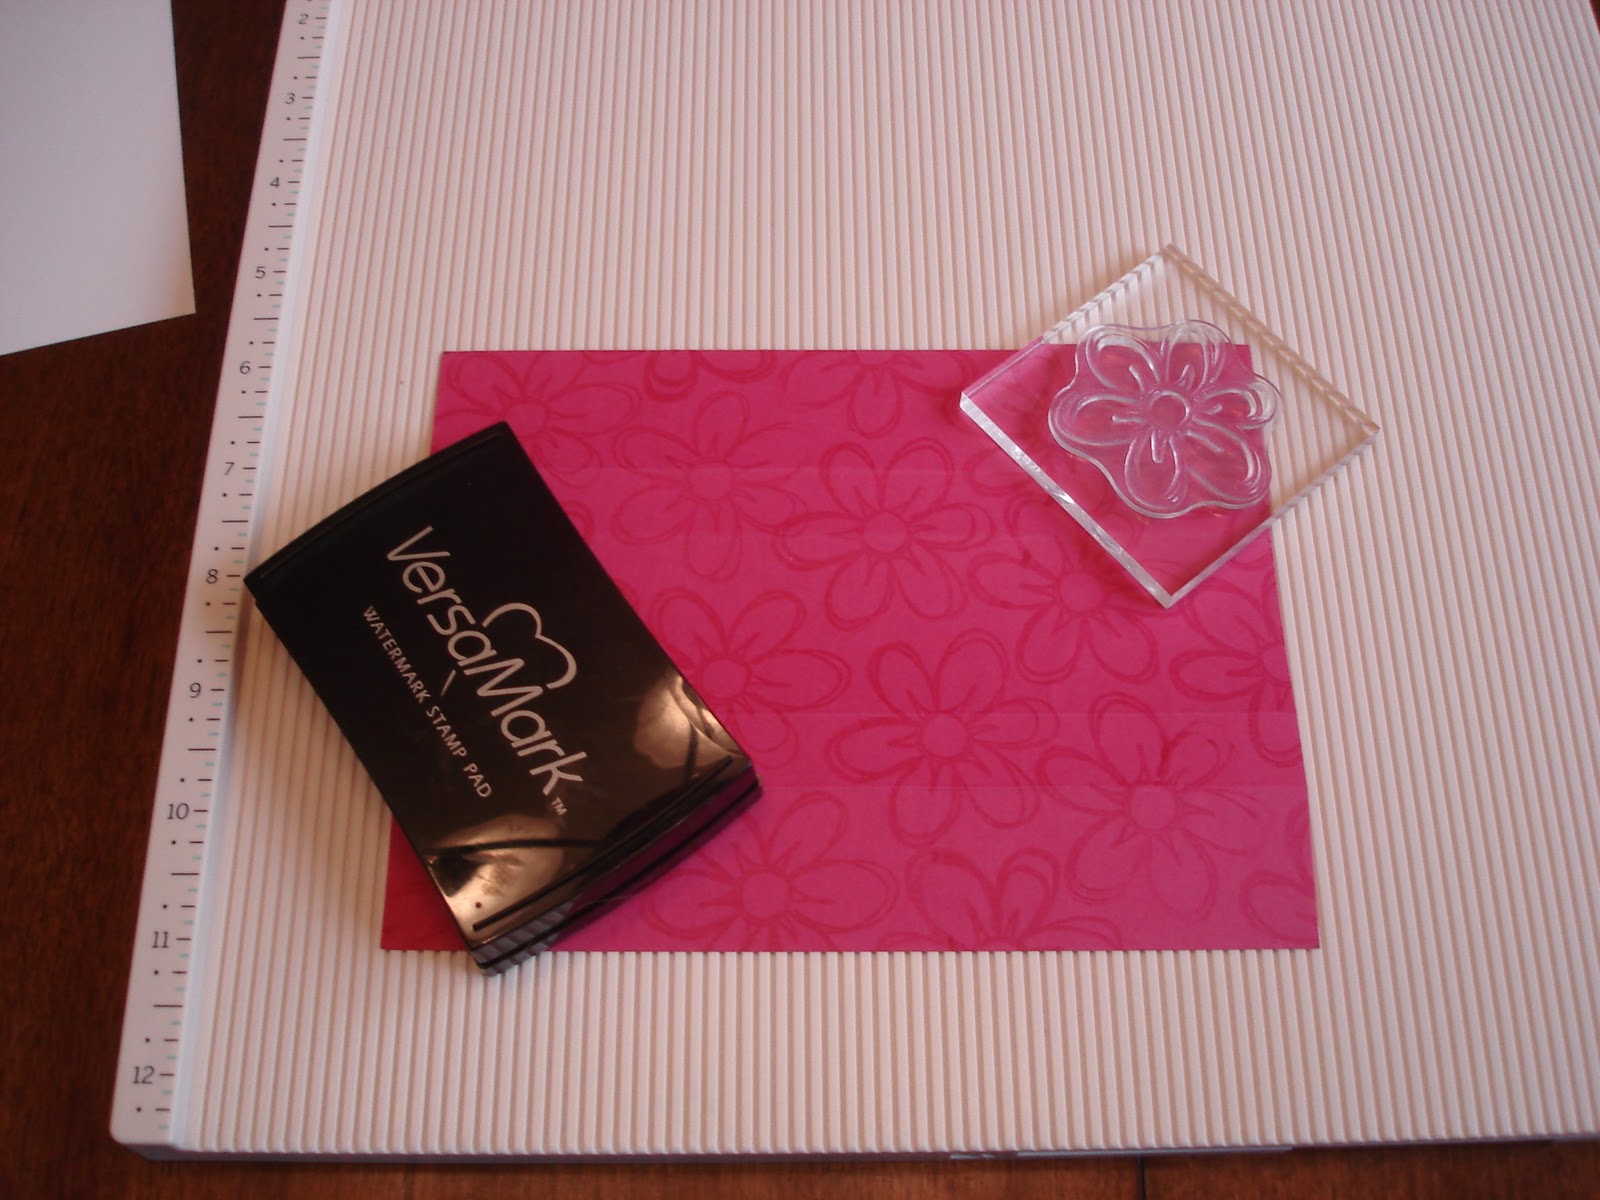
Also, if you have not used or don’t have a Versa Mark stamp pad, I really suggest you get one. A Versa Mark stamp creates a slightly darker (tone on tone) image on your paper. Have you ever been frustrated because you don't have the right color ink to coordinate with your solid colored cardstock? With this a Versa Mark pad you'll always be able to stamp a few shades darker than your cardstock. It is like owning a stamp pad in every color of your solid cardstock.
Another tip, you can score using your paper trimmer by using a bone folder or wooden popsicle stick and sliding it down the channel where you would normally slide the cutting tip. I am using my Martha Stewart Score board that I got for Christmas. :o) I LOVE IT!
Alright time for the directions…
Step 1: For the base of your box cut your cardstock 4 x 9 1/2 inches. Score at 5/8 and 1 1/4 inches on all four sides. Score lines are shown in red for demonstration purposes only.
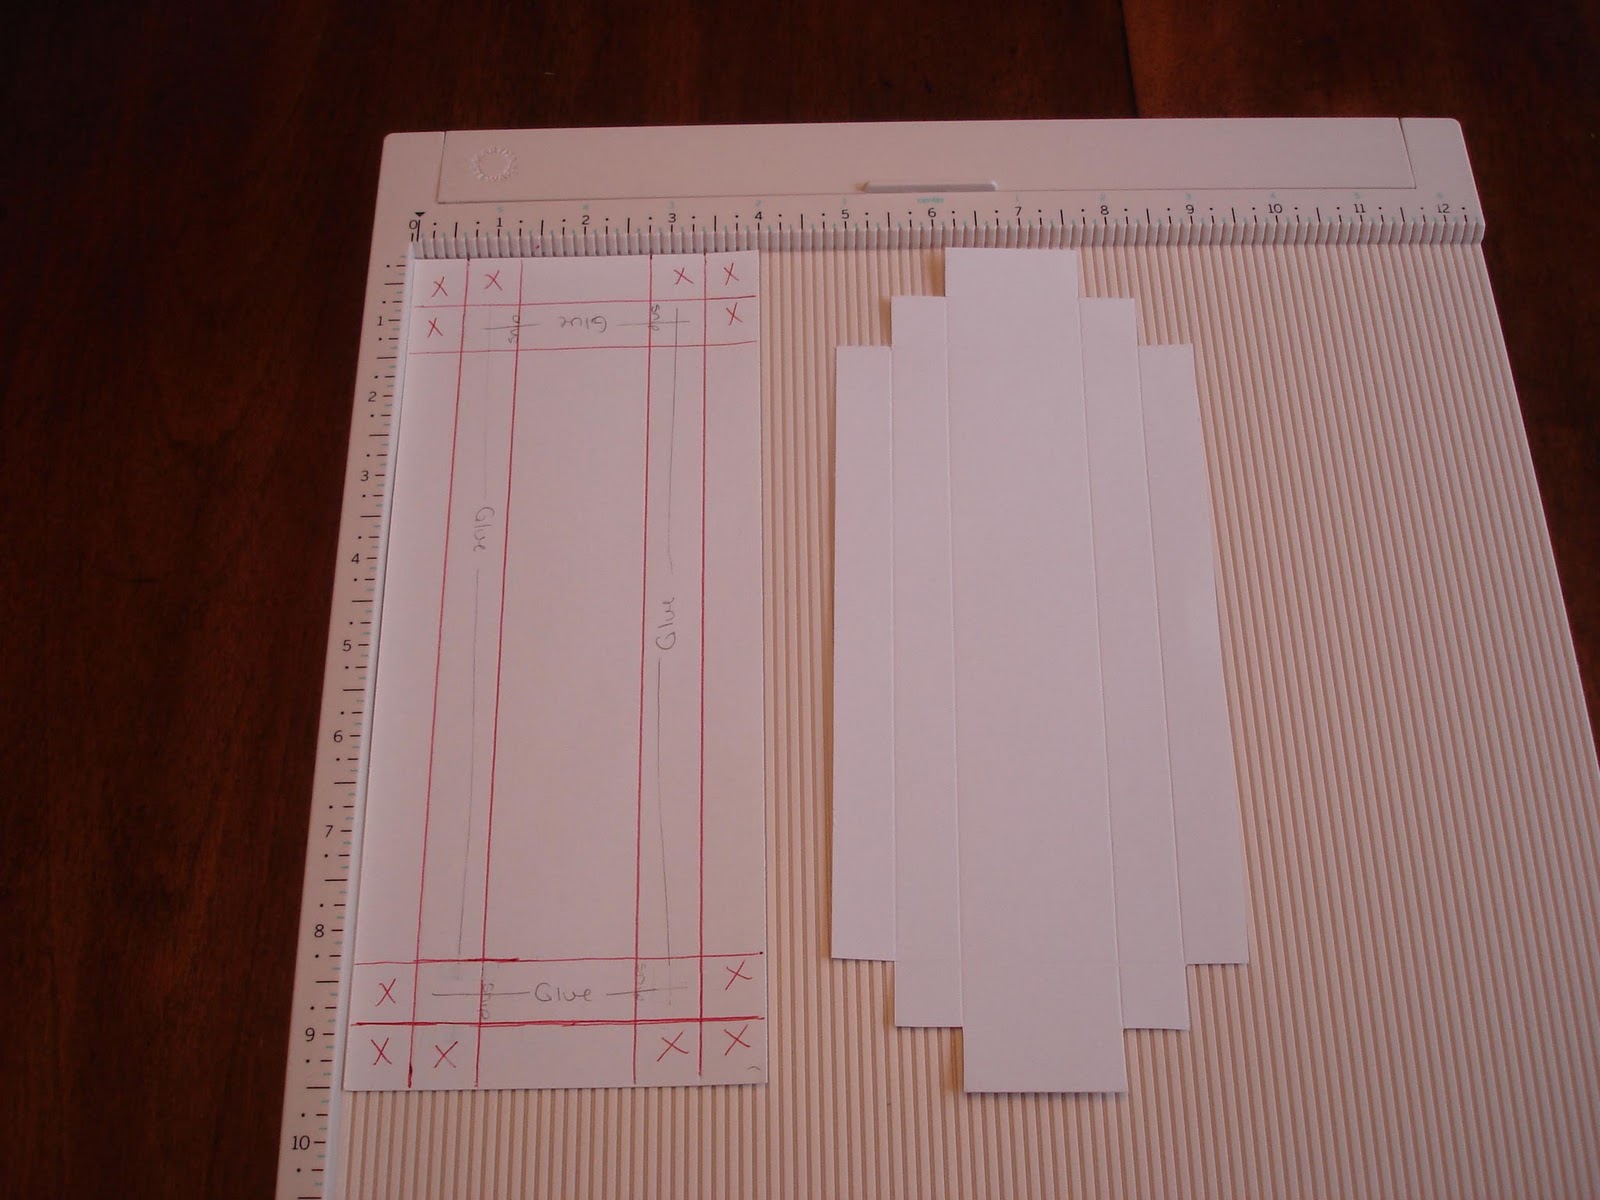
Step 2: You will remove the three small squares on the outer corners where I have put the X’s. Try to stay on the lines when you cut so that your box will fold neatly.
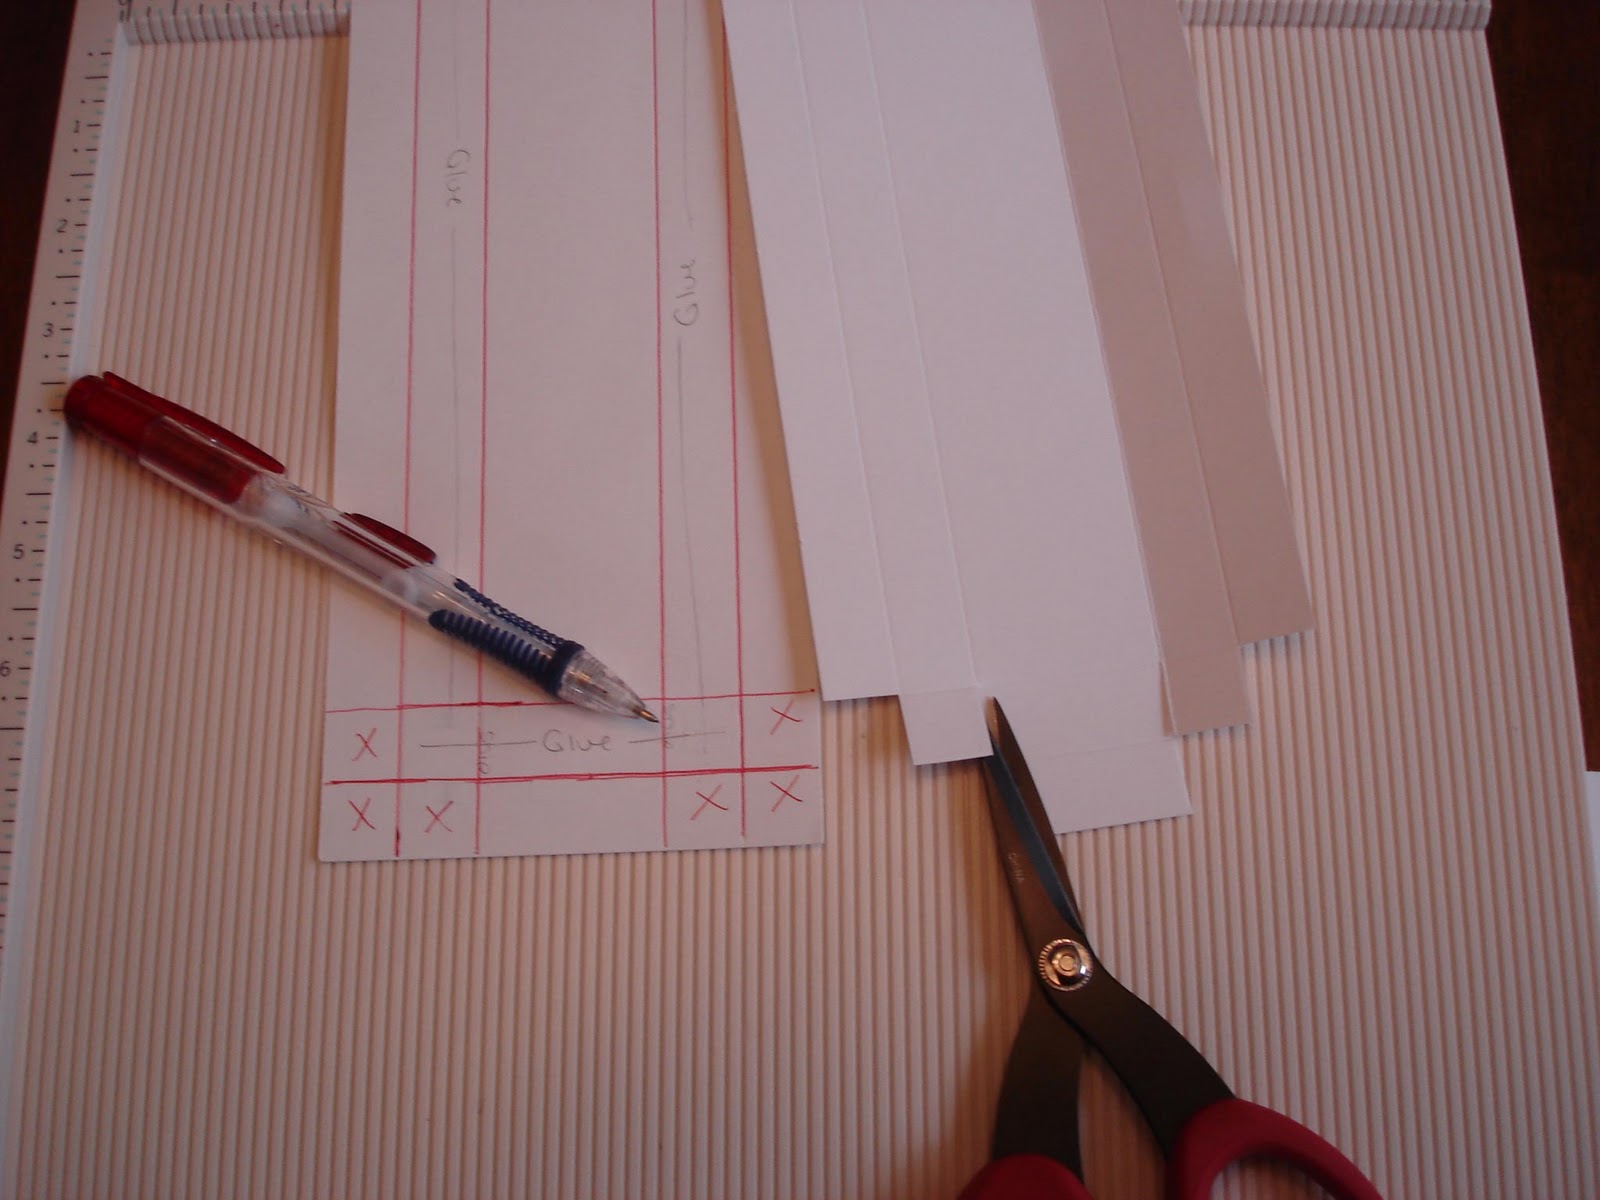
Step 3: Fold on all the score lines pressing firmly. Snip the corner flaps as shown. Apply adhesive between the first and second score lines all the way around the box.

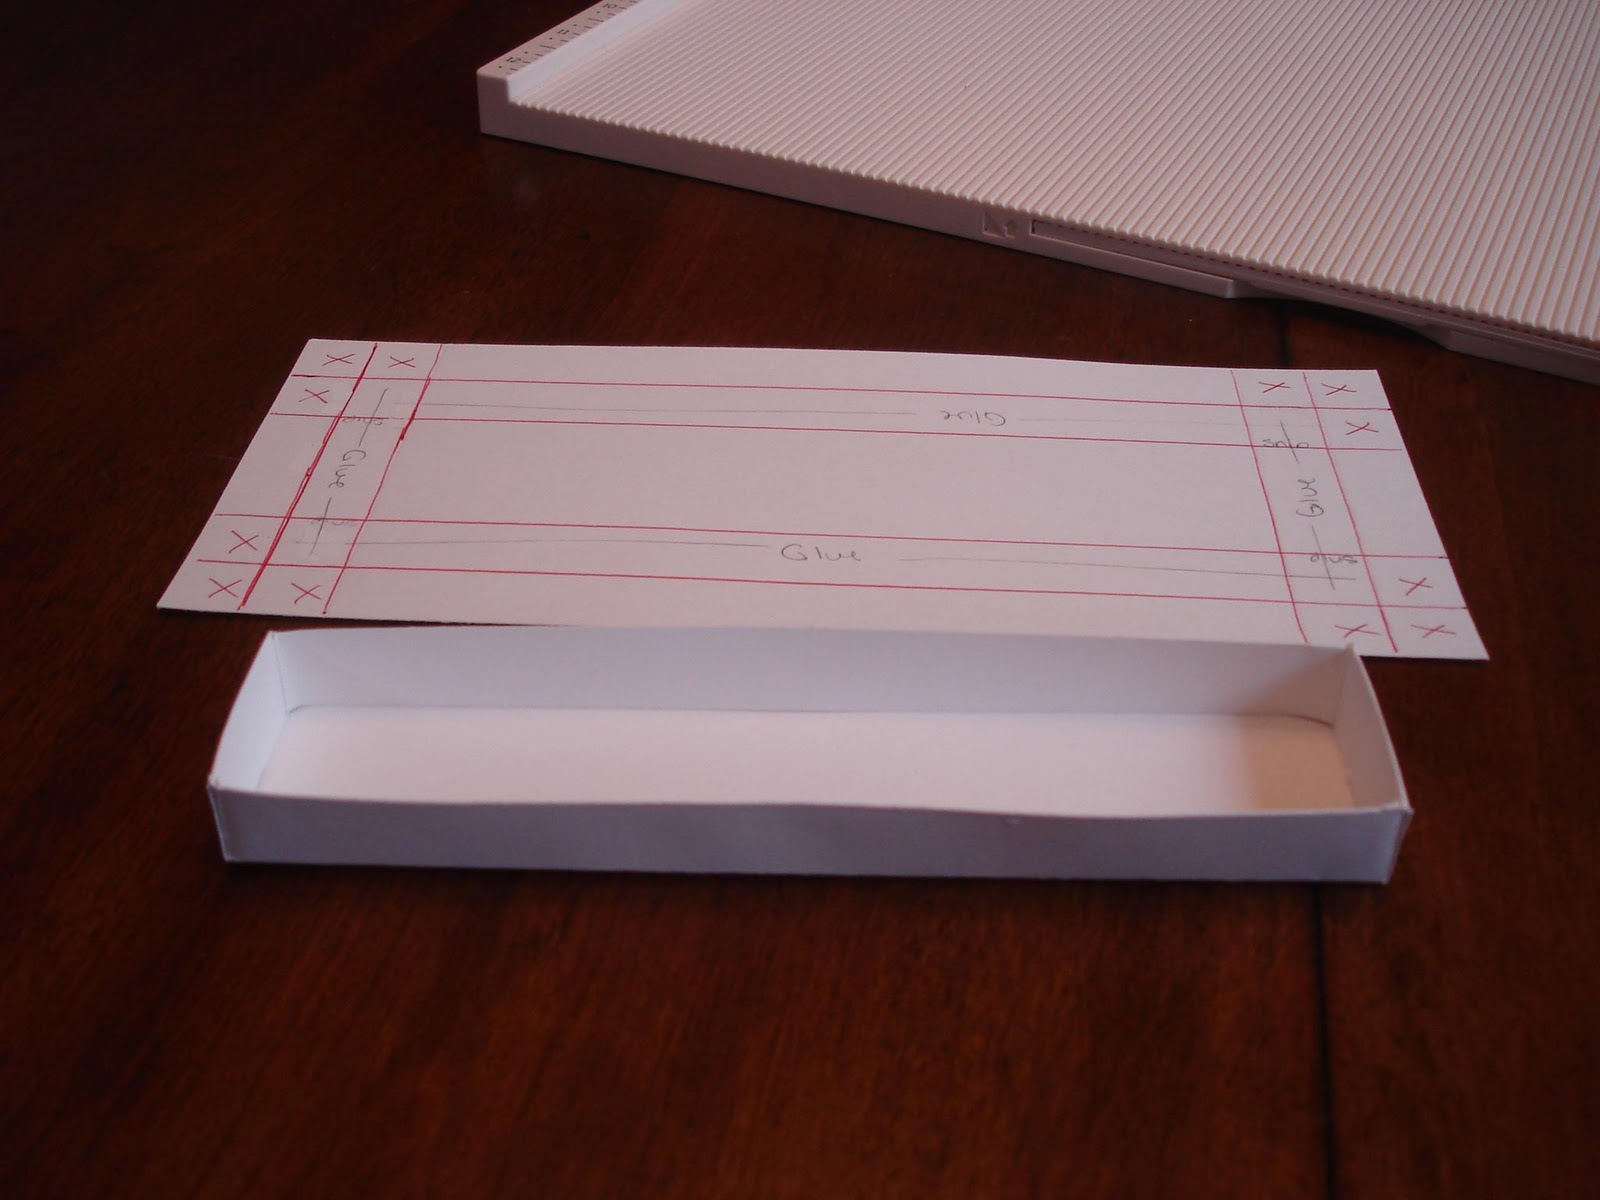
Step 4: Fold the tabs in and match up all the corners. This is easily done by checking the outside of the box. Next, fold down all four sides.
To create the sliding top for your box, cut your cardstock 5 1/4 x 7 inches. Score at 11/4 and 1 7/8 inches on the long sides of the paper only. The ends are not scored. Fold on all the score lines pressing firmly.
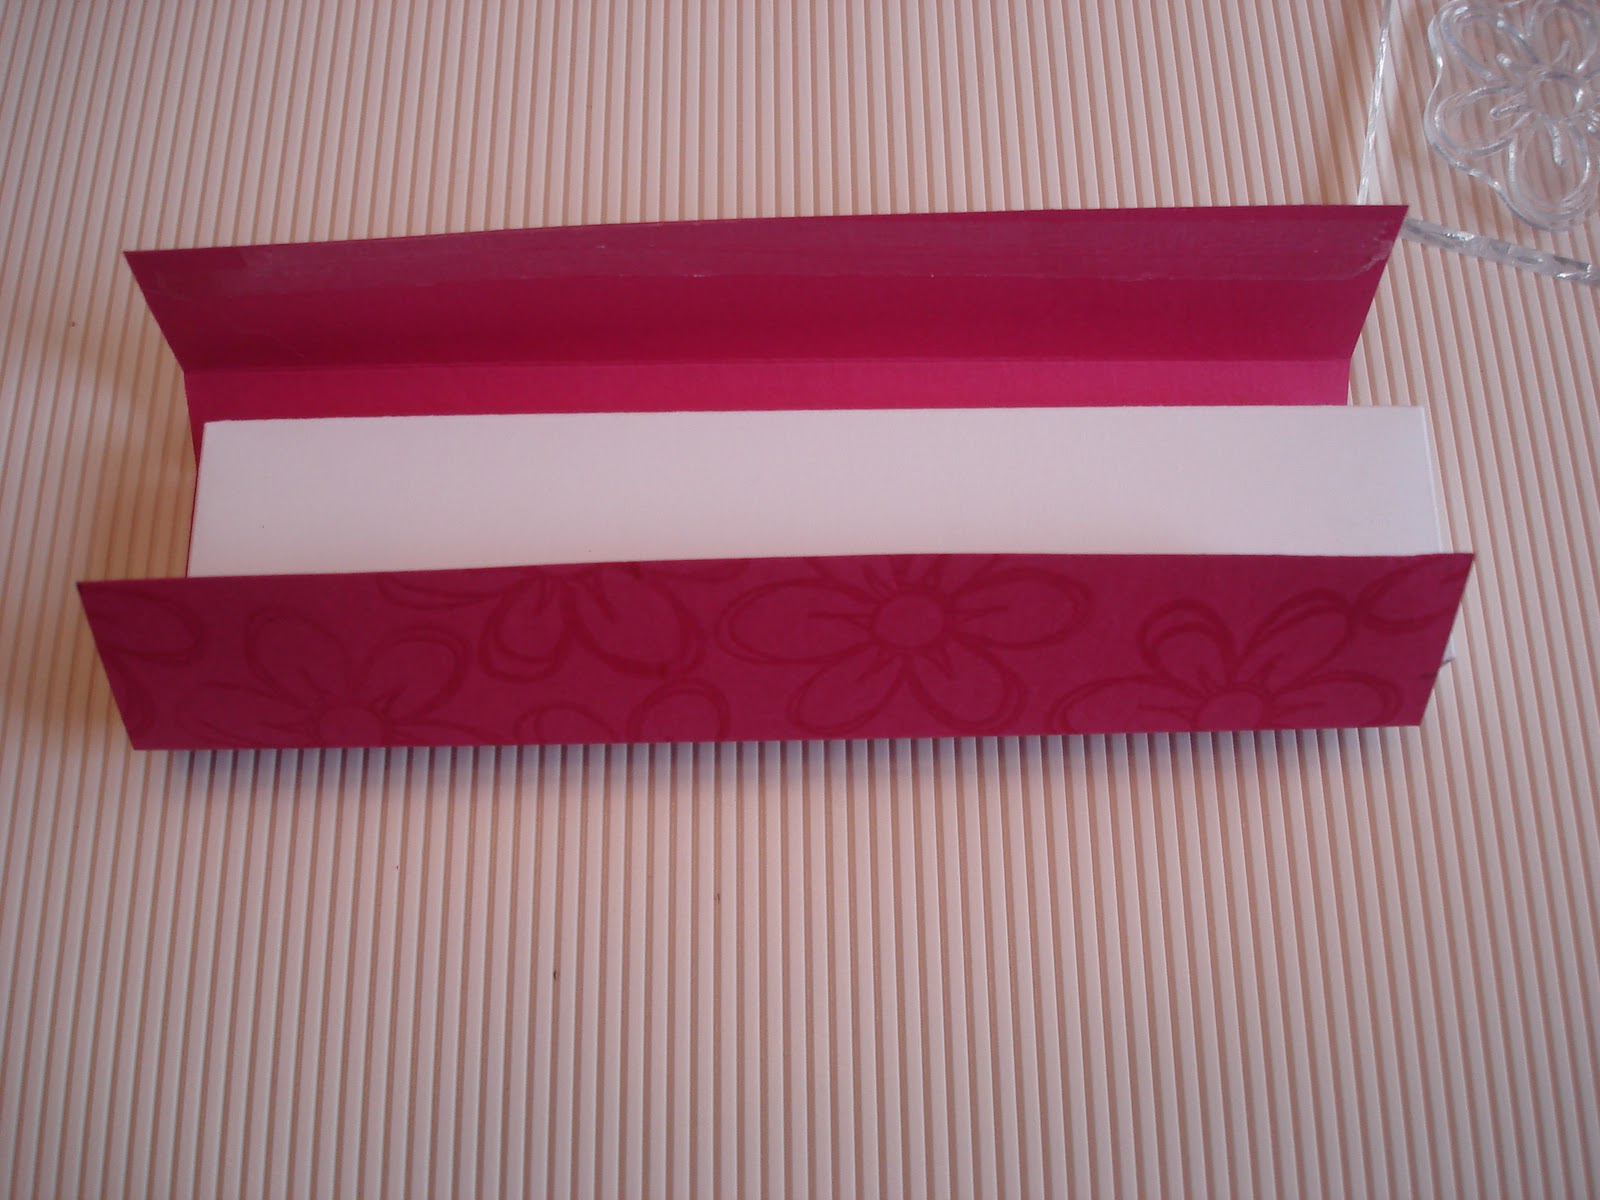
Place your assembled box base inside of the top, apply your adhesive and press your bottom flaps of the top together.

To create the decorative wrap around the box top, cut your paper 3 3/4 x 5 1/4 inches. Score at 1 1/8 and 1 7/8 inches on the short sides only. Place your assembled box into the decorative wrap, apply your adhesive and press the flaps of the wrap together.
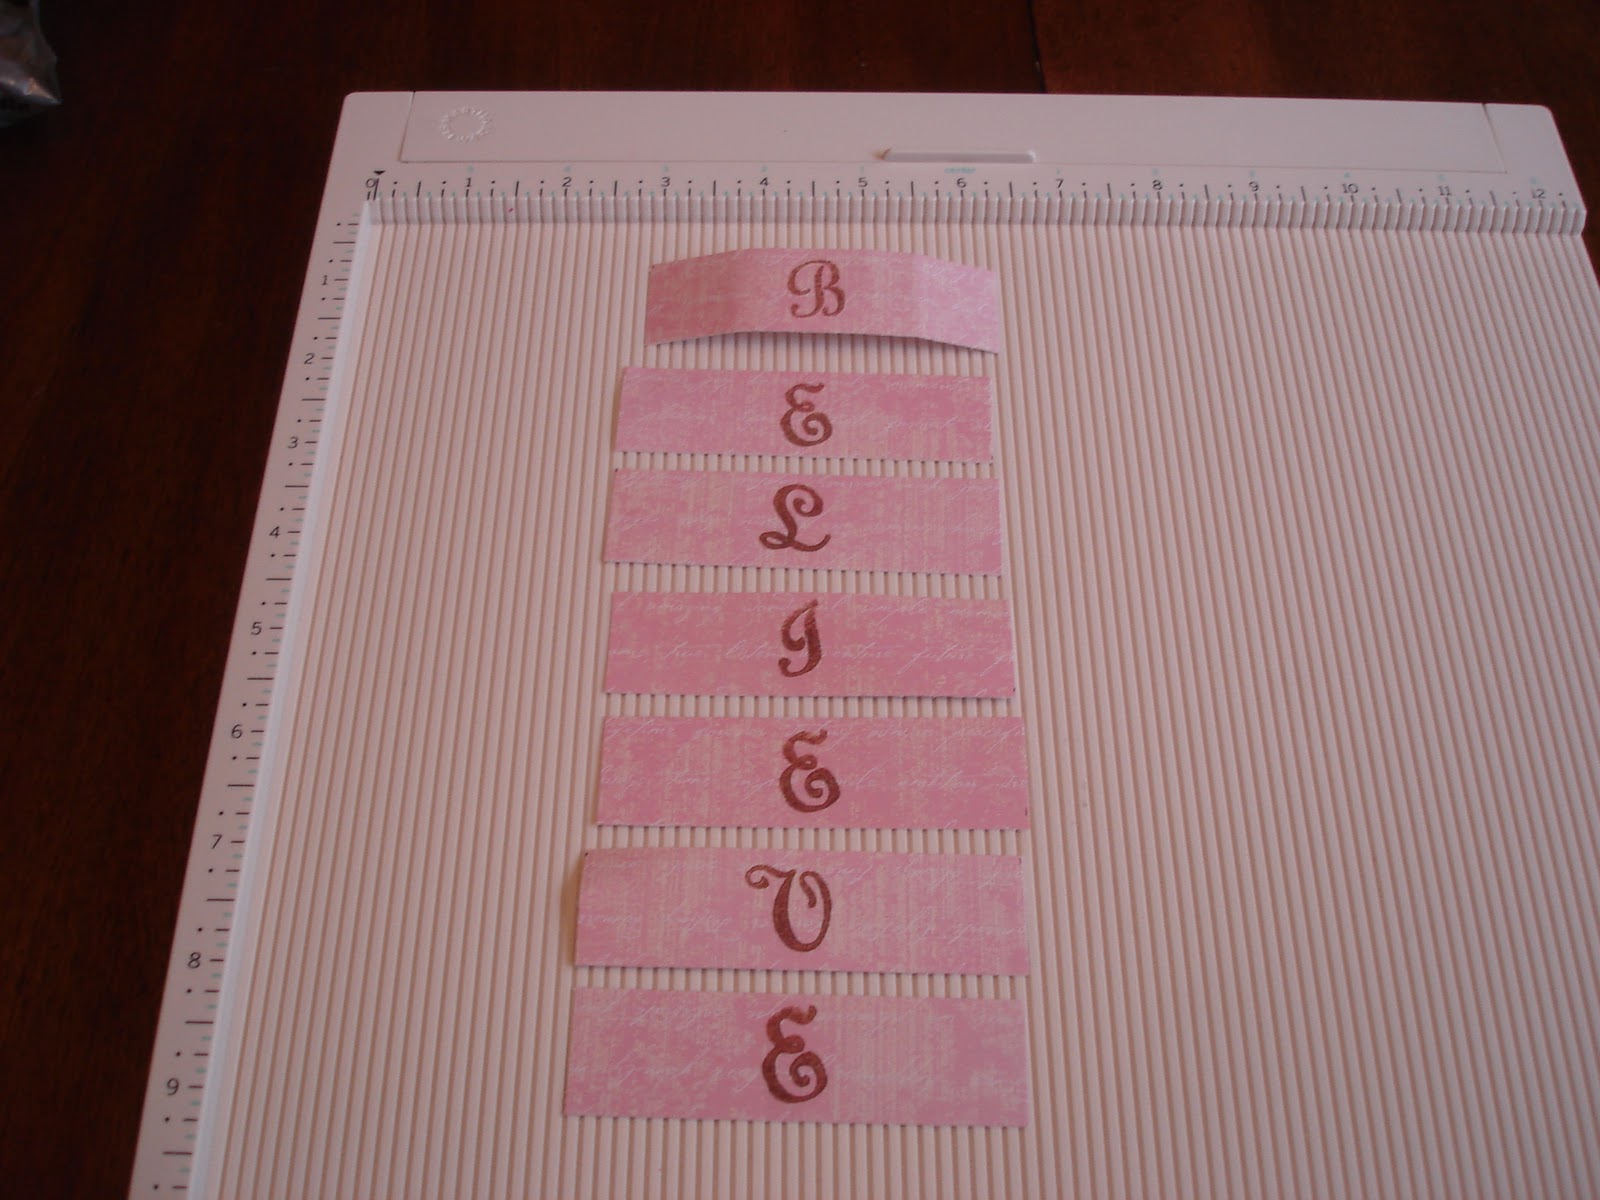
To wrap your nuggets, cut your paper into 1 x 3 ½ inch paper strips. Stamp your message, wrap around the nugget and attached with a small bit of adhesive.
Add a tag and ribbon and you’re done!
Imagine all the 7 letter messages you could create!
I (space) (heart symbol) (space) YOU
PEACE (space) (peace symbol)
PRAYING
UR(space)GR8T
Thank (space) U
(heart symbol) XOXOX (heart symbol)
(smiley face) SMILE (smiley face)
MY(space)BFF (space)
Ok, those are all the ones I could think of off the top of my head.


Great idea. Thank you
ReplyDelete