Sunday, January 8, 2012

Triple Cherry Chocolate Cake Pops

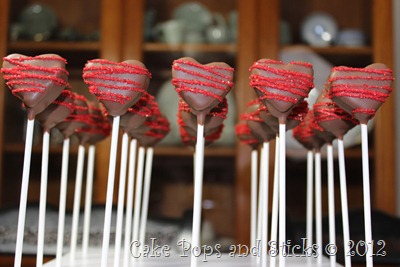
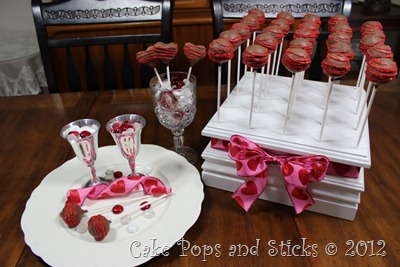
Chocolate covered cherries is a classic for Valentine’s Day.  So, why not make a cherry chocolate cake pop… better yet, how about a triple cherry chocolate cake pop?!

Triple_Cherry_Chocolate_Cake_Pop_Pops

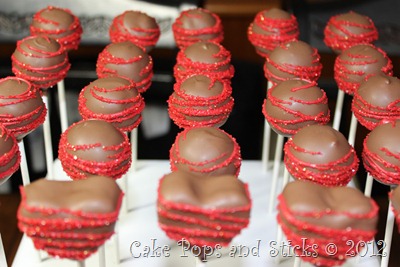
I only did the first row as heart shaped cake pops and the rest as standard round cake pops because the heart shaped cake pops where rather time consuming and, well, I was running out of time.

013

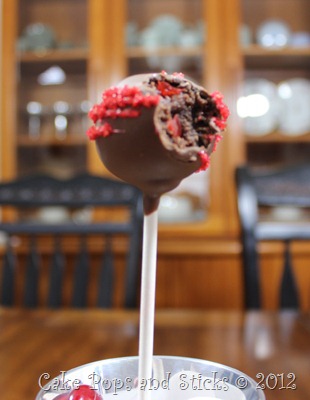
When you bite into this cake pop, you will see and taste the cherries.  Yum!

061A

Here’s the recipe:

  • 1 box choclate cake mix
  • 1 cup half and half
  • 2 tsps. cherry extract
  • 3 eggs
  • 1 4-oz. snack size apple sauce (I used Tree Top brand Strawberry Applesauce)

Mix all ingredients together, the batter will be thick.  Pour into a greased 9x13 pan.  Bake at 350 for 28- 32 minutes or until cake springs back when lightly touched.

Once cake is cooled completely, crumble cake into small even pieces, either by hand or by food processor.  Place crumbles into a large bowl.

In a small bowl mix together the cherry extract, buttercream frosting, Smucker’s Spreadable Fruit and maraschino cherries.

  • 1 tsp. cherry extract
  • 3/4cup of chocolate buttercream frosting
  • 1/4 cup Smucker’s Simply Fruit Black Cherry Spreadable Fruit, NOT jelly!
  • 1/4 cup chopped maraschino cherries, drained

With a gloved hand, mix together cake crumbles and only enough of the above frosting mixture until a thick dough consistency forms.  I used 3/4th of the mixture.

024

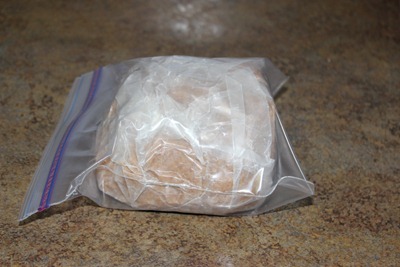
Now here’s one of my secrets!  Form the mixture into a ball and wrap it in wax paper.

026

Then place it into a quart size zip lock baggie and keep it in the refrigerator over night.

045

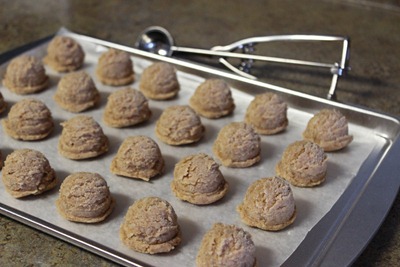
Here’s another one of my secrets!  The following day removed the mixture from the refrigerator and use a small cookie scope to keep the ball size uniform.  Or you can use a kitchen scale, each mound should weigh approximately 0.80 oz. 

057

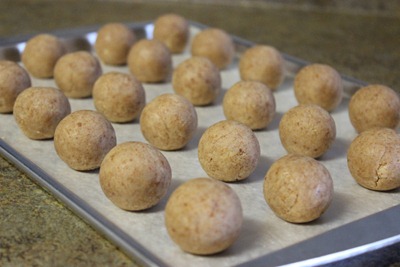
Now it’s time to roll!

During the rolling process I wash and dry my hands several times, this helps to make a rounder ball and smoother outside finish.

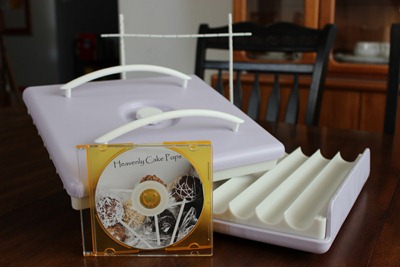
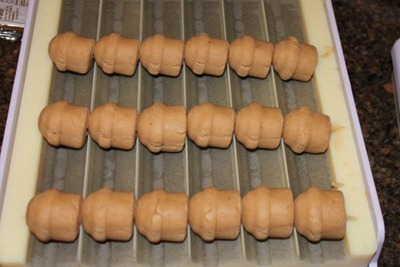
Or, you can use an Easy Roller!  This is an amazing product.  It helps you crank out up to 21 perfectly round cake balls at a time.

Melt candy melts in the microwave as directed on the back of the package. (I will have more info and tips on this in another post.)

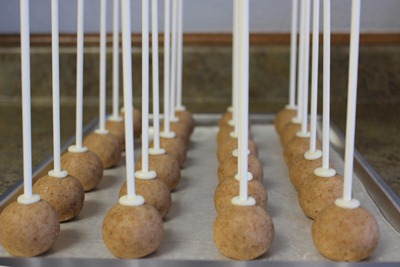
Dip one end of the lollipop stick into the candy melts about 3/4 inch.  Place the stick into the center of a cake ball.  This will act as a glue to keep the cake ball on the stick.

Chill the cake balls in the refrigerator for just a few minutes.  Otherwise, the cake balls will fall right off the stick and into the candy melts.

Dip your chilled (now) cake pop into the candy melts.  (I will have more info and tips on this in another post.)

If you would like sprinkles or colored sugar crystals on your cake pop now is the time to do it.  Quickly coat freshly dipped cake pop with sprinkles before the cake pop sets.

019

Or, you can let the coating set and drizzle with red melted candy melts and sprinkle with red sugar crystals to give it that extra special touch.

052

Enjoy!
Thursday, January 5, 2012

Easy Roller Giveaway - Cake Pop Roller

Jennifer from www.thebestcakepops.com is the creator of the Easy Roller!  Yay!  Thanks for making this product!

041

The Easy Roller is an awesome creation!  It can roll up to 21+/- cake balls at a time that are 1.25” in diameter.  The perfect sized cake pop in my opinion.

The Easy Roller has a retail value of $270.00…but is PRICELESS in the kitchen.

Watch Jennifer from www.thebestcakepops.com as she demonstrates the Easy Roller in action.

<\/param><\/embed><\/object><\/div>";" alt="">
Easy Roller Video

The Easy Roller is made from sturdy food safe plastic and is designed to have interchangeable plates for different shapes.  New shapes that will coming out in March 2012 are:  1” cake ball, the 1.5” cake ball and a cupcake shape.   

cupcake easy roller

Pictured above is a prototype of the cupcake shaped insert for the Easy Roller.  Other shapes to come in the future are: square, oval and pear.  Can you imagine all the designs you could make with these shaped cake pops!  Oh, my mind is over flowing with ideas.

To Enter to Win:

To enter to win you only need to do the following three mandatory requirements, but your odds of winning can be improved GREATLY if you complete everything listed below.  Note that each of the following counts as a single entry.  Do not enter a comment saying you did all of the below; you’ll be cheating yourself.  For each entry requirement you complete below, enter one new comment.  Easy right?!

Three Mandatory Requirements:

1)  “Like” Jennifer’s Cake Pops! on Facebook and leave a comment here telling us you have done so (if you have already “liked” it, leave a comment stating as such)

2)  “Like” Cake Pops and Sticks on Facebook which is a NEW sub-blog of Glue Sticks and Tape and leave a comment here telling us you have done so (if you have already “liked” it leave a comment stating as such)

3)  “Like” Glue Sticks and Tape on Facebook and leave a comment here telling us you have done so (if you have already “liked” it , leave a comment stating as such)


For extra entries:

1)  Use the red link to post Jennifer’s YouTube video on Facebook and leave a comment here telling us you posted!  Simply copy and paste the following link in red into your Facebook status to receive an extra entry!  http://youtu.be/6rg5we26cRA

******

2)  Email a friend about the giveaway and CC [email protected]

******

3)  Leave a comment on this post telling us which cake pop flavors or combinations you would like to see.

******

4)  Blog about the giveaway and leave a comment here with the link.

******

5)  Grab my button from the right hand side of the blog and display it on your blog and leave a comment here telling us where to find it.

******

6)  Once per day, use this red post on Facebook and once per day leave a comment here telling us you posted!  Simply copy and paste the following text in red in your Facebook status everyday to receive an extra entry!

Cake Pop Easy Roller Giveaway @ http://cakepops.gluesticksandtape.com/

******

7) Subscribe to Cake Pops and Sticks email via FeedBurner on your right and leave a comment here telling us you subscribed.  (if you have already subscribed, leave a comment stating as such)  

******

8)  Subscribe to Glue Sticks and Tape email via FeedBurner on your right and leave a comment here telling us you subscribed (if you have already subscribed, leave a comment stating as such)

******

9)  Follow Glue Sticks and Tape on Twitter and leave a comment here telling us you are now following (if you are already a follower, leave a comment stating as such)

******

10)  Once per day, use this red tweet on Twitter and once per day leave a comment here telling us you tweeted!  Simply copy and paste the following text in red in your tweet everyday to receive an extra entry!

I just entered to win a Cake Pop Easy Roller Giveaway at http://cakepops.gluesticksandtape.com.  Thanks @gluestickNtape

******

This giveaway will end on Thursday, January 12, 2012 at midnight CST. No additional entries will be counted after this date and time.

This giveaway is available to everyone in the Continental United States.

Each participant will receive one entry for completing one of the steps noted above. Be certain that you only add one comment per entry requirement you complete so that the random winner generator will see each entry as a single one.

The winner will have 72 hours (3 days) to respond. If the winner’s email is incorrect or does not respond within 72 hours, another winner will be selected. The winner will be announced on this page.

The winner will be selected at random using the online free services provided by random.org.

Good Luck!

Giveaway Posted On:

Tip Junkie Giveaway Directory

Blog Giveaway Directory

Online-Sweepstakes

Prizey

Tuesday, January 3, 2012

Old Fashion Strawberry Shortcake Cake Pops

109

Getting’ ready for Valentine’s Day!

Do you remember Strawberry Shortcakes?  You know the ones made with a basic sugar biscuit, strawberries and whip cream? Yum!

Here is a play on the Old Fashion Strawberry Shortcakes in cake pop form!

007

Recipe:

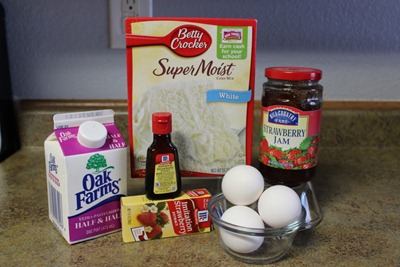
  • 1 box white cake mix
  • 3 eggs
  • 2 tsps. strawberry extract
  • 3/4 cup half and half

Nope, I did not forget the oil, no oil in this recipe.

Mix all ingredients together, the batter will be thick.  Pour into a greased 9x13 pan.  Bake at 350 for 25-28 minutes or until cake springs back when lightly touched.

019

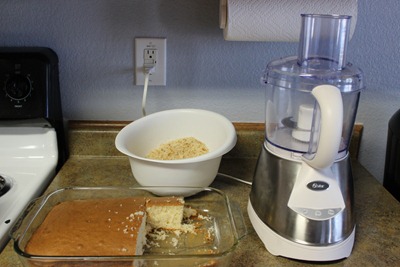
Once cake is cooled completely, crumble cake into small even pieces, either by hand or by food processor.  Place crumbles into a large bowl.

028

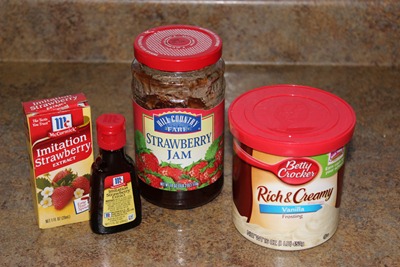
In a small bowl mix together the strawberry extract and buttercream frosting.

  • 1 tsp. strawberry extract
  • 1/2 can of vanilla buttercream frosting
  • 1/3 cup strawberry jam or preserves, NOT jelly!

With a gloved hand, mix together cake crumbles, frosting with extract and jam until a thick dough consistency forms.

024

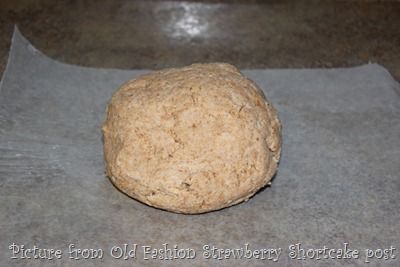
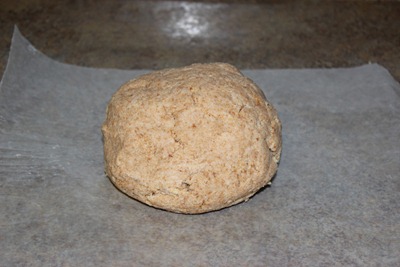
Now here’s one of my secrets!  Form the mixture into a ball and wrap it in wax paper.

026

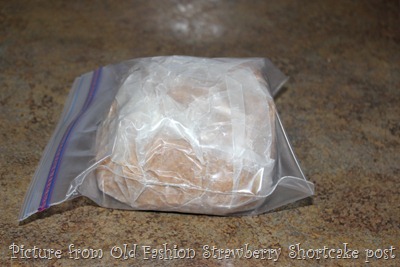
Then place it into a quart size zip lock baggie and keep it in the refrigerator over night.

045

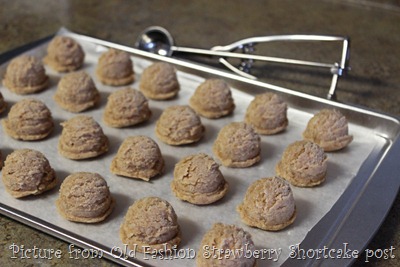
Here’s another one of my secrets!  The following day removed the mixture from the refrigerator and use a small cookie scope to keep the ball size uniform.  Or you can use a kitchen scale, each mound should weigh approximately 0.80 oz.  

057

Now it’s time to roll!

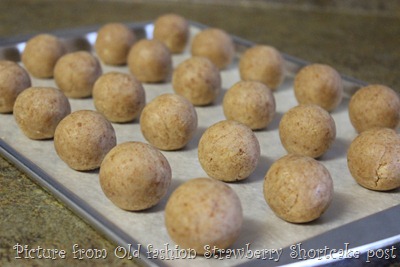
During the rolling process I wash and dry my hands several times, this helps to make a rounder ball and smoother outside finish.

Or, you can use an Easy Roller!  This is an amazing product.  It helps you crank out up to 21 perfectly round cake balls at a time.

066

Melt candy melts in the microwave as directed on the back of the package. (I will have more info and tips on this in another post.)

Dip one end of the lollipop stick into the candy melts about 3/4 inch.  Place the stick into the center of a cake ball.  This will act as a glue to keep the cake ball on the stick.

Chill the cake balls in the refrigerator for just a few minutes.  Otherwise, the cake balls will fall right off the stick and into the candy melts.

070

Dip your chilled (now) cake pop into the candy melts.  (I will have more info and tips on this in another post.)

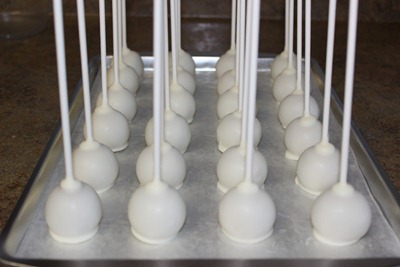
If you would like sprinkles or colored sugar crystals on your cake pop now is the time to do it.  Quickly coat freshly dipped cake pop with sprinkles before the cake pop sets.

093

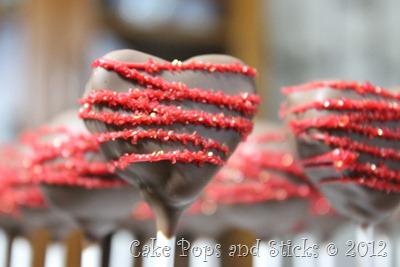
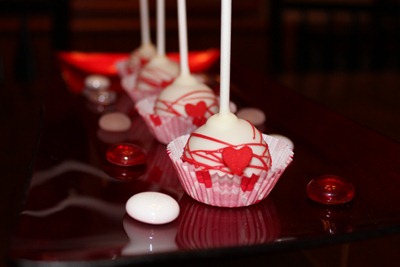
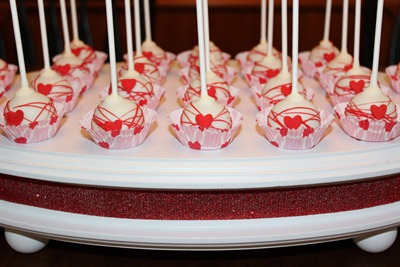
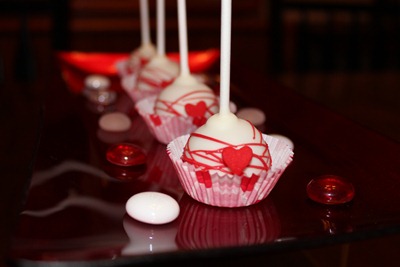
Or, you can let the coating set and drizzle with red melted candy melts and adhere a Wilton Jumbo Heart Sprinkle in the front to give it that extra special touch.

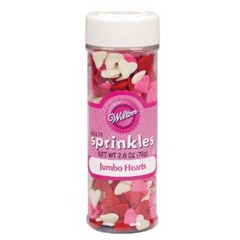
Wilton Jumbo Heart Sprinkles

This is what the bottle of Wilton Jumbo Heart Sprinkles looks like.

109

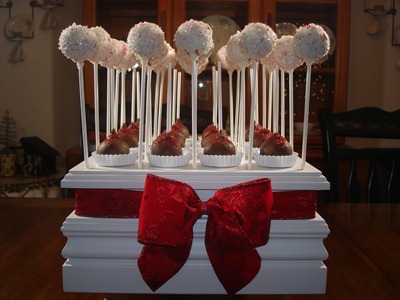
You can make your Valentine cake pop tray look extra special by using some of your Christmas decorations!  This red plate and these red and white beads where bought and used for Christmas.  Love it when I can use the same decorations again and again for other holidays.  I’m thinking the beads and plate can also be used again for the 4th of July too, just have to add some blue!

Saturday, December 31, 2011

“Starbucks” Peppermint Brownie Cake Pop

059

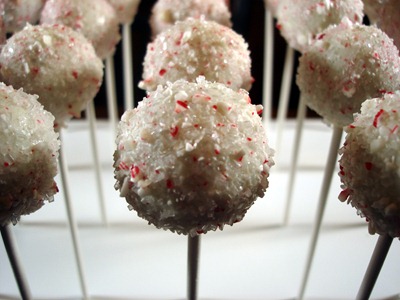
Starbucks’ Peppermint Brownie Cake Pops are awesome and inspired me to try and duplicate them so that I could make a batch of them for Christmas. 

To start out, I knew that I was going to have to buy a few of Starbucks’ Peppermint Brownie Cake Pops so that I could try and duplicate the recipe.

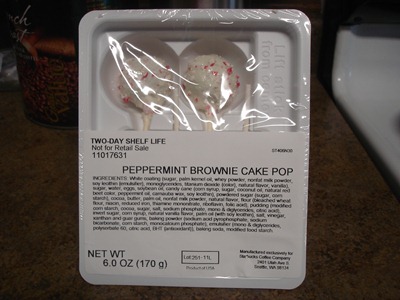
AND THIS IS WHAT WAS HANDED TO ME…..

005

SCORE!!!

Ok, let’s break it down…the package says ”white coating (sugar, palm kernel oil, whey powder, nonfat milk powder, soy lecithin {emulsifier}, monoglycerides, titanium dioxide {color}, natural flavor, vanilla)”…equals… white chocolate melts!

All the rest of the ingredients… equals… chocolate cake mixed with butter cream and candy cane pieces, dipped in white chocolate and sprinkled with candy cane bits.

How do I know?!  I went to their site!  Haha.  My suspicions were correct, there is NO “brownie” in this cake pop!

Here is how I made my “Peppermint Brownie Cake Pops”.

  • Mix a milk chocolate cake mix as directed on the back of the box for a 9x13 cake and added 1 tsp. peppermint extract to the mix.
  • Bake and cool as directed on the back of the box.

006

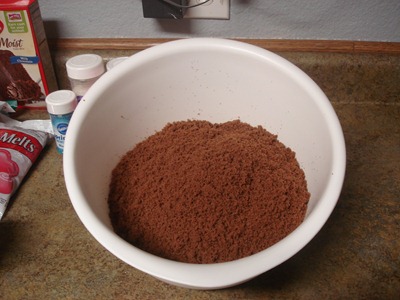
  • After the cake is COMPLETELY cool, crumble up the entire cake into very small crumbs.  You can do this by hand or in a food processor. (I prefer using the food processor.)
  • Take a 1/2 can of milk chocolate frosting and place it in a small bowl.  Add 1/8 tsp. peppermint extract to the the frosting a mix well.

012

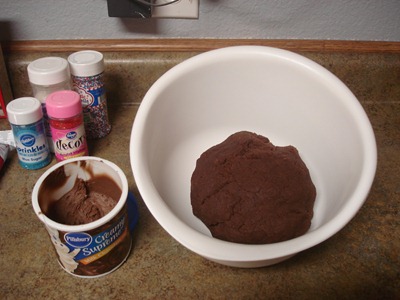
  • Add the peppermint milk chocolate frosting that you just made PLUS one crushed up candy cane to the crumbled up cake.  Mix until you can form a ball as pictured above.  You HAVE to use your hands to mix it!  If you try and use other kitchen utensils it will not mix properly.
  • Roll mixture into about 1.25” size balls and place onto a wax paper lined cookie sheet.  This mixture will make approximately 40 balls.  (I will give more info and tips on rolling cake balls in another post)
  • You will need to chill the balls for several hours in the refrigerator or  put them in to the freezer for no more the 5 minutes.  If they get too cold the candy melt coating will crack when drying.  (I will give more info and tips on chilling the mixture in another post.)

018

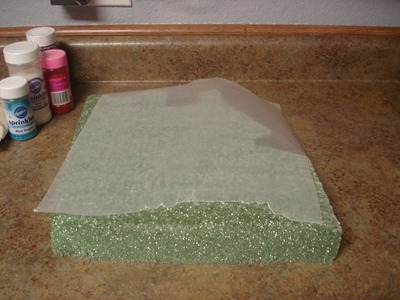
  • While your waiting, get your styrofoam block out and cover it with wax paper.  This will hold the pops as they dry.  (I will give more tips on cake balls presentation in another post.)
  • Melt candy melts in the microwave as directed on the back of the package (I will have more info and tips on this in another post.)
  • Dip one end of the lollipop stick into the candy melts about 3/4 inch.  Place the stick into the center of a cake ball.  This will act as a glue to keep the cake ball on the stick.
  • Re-chill the cake balls in the refrigerator for just a few minutes.  Otherwise, the cake balls will fall right off the stick and into the candy melts.

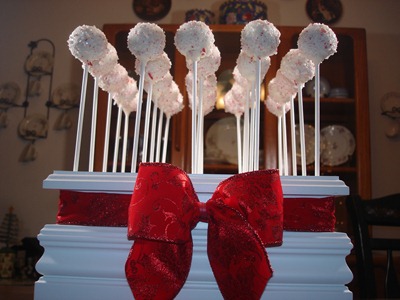
peppermint2 cake pops

  • Dip your chilled (now) cake pop into the candy melts, gently tapping the stick on side of the cup to remove any excess candy melts.  Quickly coat with mixture of clear sprinkles and crushed up candy canes before the cake pop sets. (I will have more info and tips on this on another post.)

011

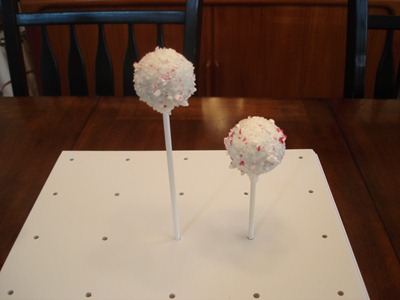
My cake pop is on the left and Starbucks is on the right.. short and shout.

021

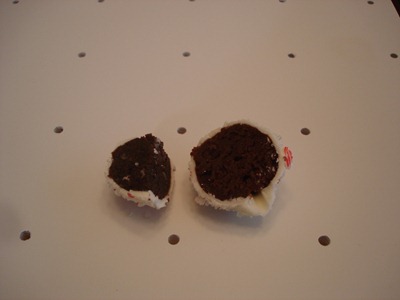
Starbucks is on the left this time and mine is on the right. I cut the Starbucks pop into fourths and mine into half. I would mix it up each time trying to trick my taste testers. 

My husband and a few neighbors did a blind taste test and they picked mine as the better tasting and looking one each and every time!

074

I hope you enjoy your homemade Starbucks Peppermint Brownie Cake Pops!

Please return for a ton of tips, tricks, recipes and more!