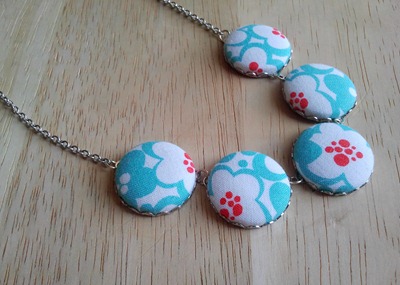
I'd like to introduce todays guest blogger Sara from Shy of Perfect. Sara is going to show us how to make these super cute fabric covered buttons that she then turns into awesome necklaces like the one pictured here…
Please visit Sara’s Shy of Perfect Etsy Shop to see other amazing items of jewelry that she has created.
Without any further ado here’s Sara!
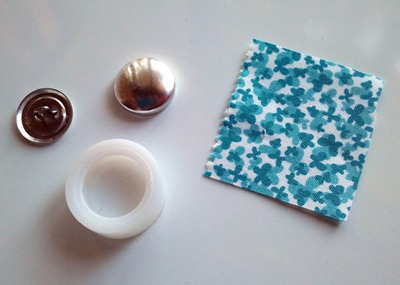
These are the only items that you need to make a precious fabric covered button. You can buy kits to make them in all sizes at your local craft store or sewing supply store. When you get the kit, you will get the front of the button, but back part with the loop, as well as the plastic piece that allows you to easily put all of the pieces together. Typically the back part of the kit will have a piece of cardboard for you to cut out so that you have a template for you to cut out your fabric. This is usually a circle shape so that you don’t have a lot of extra fabric inside your button. For my purposes, I typically just cut a square in the size that I need but you will want to use the circle your first few times or if you are using super small buttons that don’t have much extra room in them.
You can use fabric buttons for all sorts of things from dressing up your favorite shirt, to making decorative pushpins, or even for making jewelry like I will end up doing with these finished pieces.
But first things first…
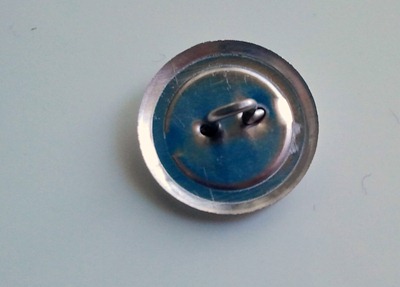
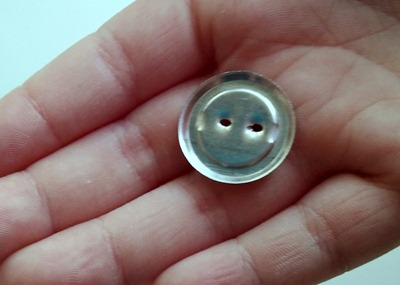
This is a picture of the back part of the button. As you can see there is a loop there so that you can sew your lovely button creation to something later, or affix it to whatever you like. This is a good time to decide what you need that button for and if you want that loop attached. For my purposes the loop just gets in the way, so I am going to remove it.
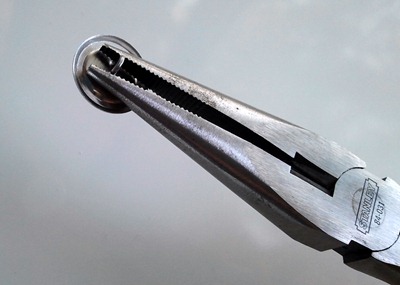
All you have to do is take a pair of pliers and grasp the loop as close to the base as you can and squeeze hard. It may take a small amount of wiggling, but the loop should come off fairly easily at this point leaving behind a flat piece of metal for the back that looks like this.
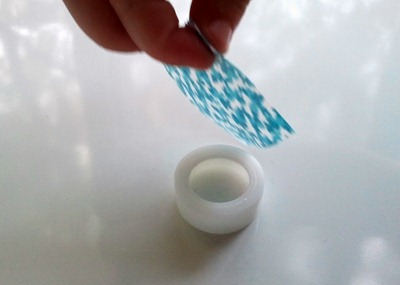
At this point you are ready to construct your button. Lay your plastic button mount on a hard, flat surface and place your piece of fabric over right side facing DOWN and centered over the mount.
At this point you take the rounded, middle portion of your button and center it over the hole in your mount. You want an even amount of fabric showing on all sides. You’ll be glad that you did at the end.
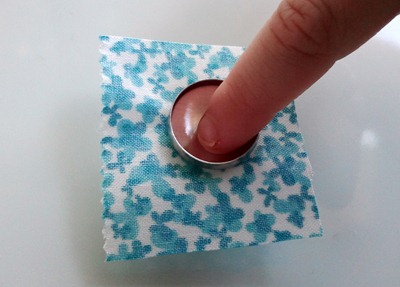
Now push that metal piece down into the mount.
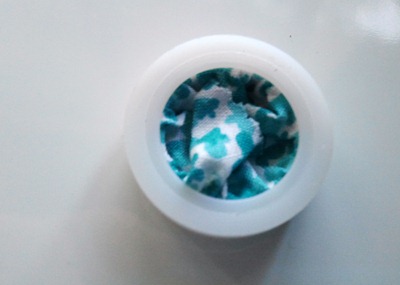
This will take a fair amount of pressure, so don’t be timid. Once the piece is completely inserted, your fabric will look like this.
If you like, now is a good time to cut off any extreme excess fabric that you may have, but leave at least 3/8’ behind on all sides.
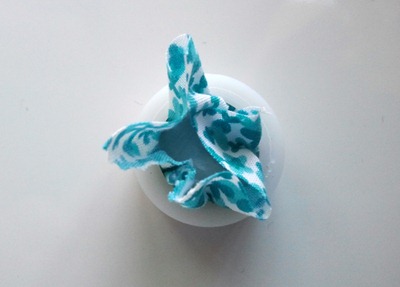
Now tuck all of that extra fabric into the mount as deeply as you can so that you have something that looks like the picture above. At this point you will know for sure if you have enough fabric to cover the button. If for some reason you have a very small amount of fabric on one side you can pop your pieces out of the mount and start again. If not, keep going…you’re almost done.
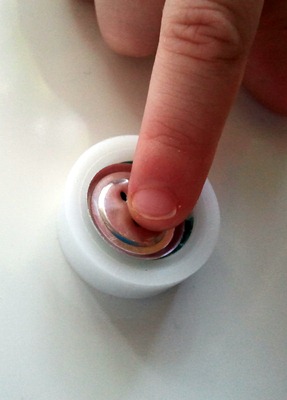
Place the back part of the button on top of the fabric that you tucked in and make sure that it is centered. If you removed the loop, make sure the edges of the metal piece are curling up towards the center, not going down into the button. This will make sense when you look at it. Using the pusher that comes with your kit (I lost mine a long time ago, your finger works just fine for this if you rather) push the back part of the button down as hard as you can until you can tell that it has “caught”.
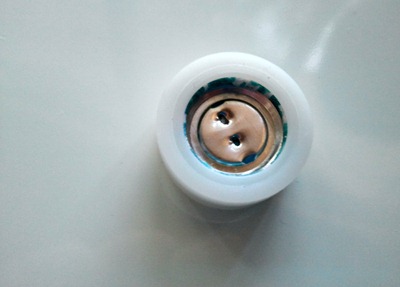
When you remove the button you should have something that looks like this. At this point you will be able to see if your button will look right or not. If you have any little edges of raw fabric sticking out, this will end up showing in most applications that you will use the button for. Make sure you happy with your work before you make tons of them.
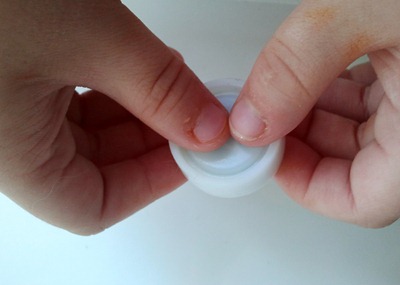
Now pick your mounting piece up, flip it over, and using your thumbs like in the picture above, pop the finished button out.
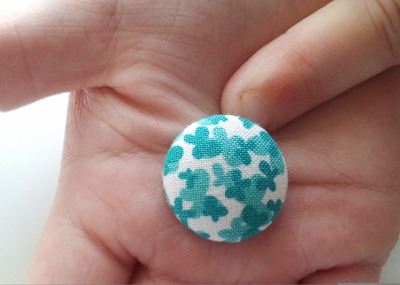
You should have something that looks much like this. It’s amazing how a process that is so simple can make something so simply beautiful.
If you have a desire to make many of these, I suggest that you check websites such as Etsy and sewing supply stores online and buying the pieces in bulk. Just make sure that you know the correct size that you need and go crazy. This is one of my favorite parts of sewing and jewelry making. Mostly because it’s something that my oldest can help with. As you can see, she was my model for this particular tutorial. So if a 3 year old can do it…you know you can too! Whatcha waiting for?






No comments:
Post a Comment